
A cracked windshield is rarely just a glass problem on a modern luxury or performance vehicle. The windshield supports structural integrity, influences cabin refinement, and often serves as the viewing surface for cameras and sensors. Proper windshield replacement preparation protects those systems, preserves surrounding finishes, and gives the new glass the conditions it needs to perform as engineered.
For Bay Area drivers, damage often begins with one sharp impact on Highway 101, I-280, or a winding Peninsula road. What looks like a small chip can spread quickly with temperature changes, chassis flex, and road vibration. Once replacement is the right decision, the quality of the preparation matters as much as the quality of the glass itself.
Confirm That Replacement Is the Right Repair
Not every chip requires a new windshield. A small, recent impact away from the driver’s primary field of vision may be repairable if it has not reached the edge of the glass or damaged multiple layers. Repair can retain the factory windshield and its original fit, which is often a meaningful advantage for a collector-grade or low-mileage vehicle.
Replacement becomes the better path when a crack is spreading, the damage sits near the windshield edge, visibility is compromised, or the impact has affected sensor zones. A qualified inspection should also consider whether the glass has prior repairs, moisture intrusion, or hidden stress around the damage.
Do not delay the decision simply because the crack appears stable. California’s warm afternoons and cooler evenings can cause a crack to travel unexpectedly. Washing the car with hot water, parking in direct sun, or closing a door firmly can be enough to turn a manageable issue into a larger one.
Choose the Correct Glass Before Scheduling
Premium vehicles are rarely one-glass-fits-all platforms. A windshield may incorporate acoustic interlayers, solar control, heads-up display compatibility, heating elements, rain sensors, antenna connections, camera brackets, and specific tint bands. Even within the same model year, equipment packages can change the correct part number.
Original equipment manufacturer glass is often the preferred choice for late-model European, exotic, and high-value vehicles because it is designed around the vehicle’s exact optical, acoustic, and sensor requirements. It can also offer the closest match to factory markings and appearance. However, availability, insurance coverage, and production lead times can affect that decision.
High-quality original-equipment-equivalent glass can be appropriate in certain applications, especially when it meets the required specifications and the vehicle does not depend on highly sensitive camera or display systems. The key is not choosing by price alone. Confirm the glass is correct for your VIN, options, and advanced driver-assistance system configuration before installation day.
Ask About ADAS Calibration Up Front
Forward-facing cameras behind the windshield support features such as lane-keeping assistance, automatic emergency braking, adaptive cruise functions, traffic-sign recognition, and high-beam assist. When the windshield is replaced, the camera position can change by fractions that matter.
Many vehicles require static calibration, dynamic calibration, or both after replacement. Static calibration uses targets and controlled equipment; dynamic calibration requires a road procedure under suitable conditions. Requirements vary by manufacturer and model, so calibration should never be treated as an optional add-on or assumed to be complete because no warning light is visible.
Before booking, ask whether your vehicle requires calibration, who will perform it, and how completion will be verified. A proper post-installation scan and documented calibration provide far more confidence than a dashboard that simply appears normal.
Prepare the Vehicle for a Precise Installation
The most useful preparation is simple: bring the vehicle in as it is normally driven, but make the windshield area accessible and the interior protected. Remove toll tags, parking permits, dash-mounted cameras, radar detectors, phone mounts, and any loose accessories attached to the glass. If an item is hardwired or integrated into the vehicle, point it out before work begins rather than attempting to remove it yourself.
Clear personal belongings from the dashboard, front seats, and center console. Technicians need room to protect interior surfaces and work carefully around the A-pillars, mirror assembly, cowl, and dashboard. This also reduces the risk of a valuable item being misplaced during a more involved installation.
If the vehicle has an existing windshield tint strip, aftermarket visor, protective film, or aftermarket camera system, disclose it during scheduling. These additions can affect removal, replacement, or recalibration planning. A premium installation starts with knowing what is already on the car.
For a smooth appointment, address these five items beforehand:
- Photograph the existing damage and the surrounding paint, trim, dashboard, and glass.
- Provide the VIN and confirm all windshield-related options and safety features.
- Remove electronic tags, windshield-mounted accessories, and valuables from the cabin.
- Tell the service advisor about aftermarket electronics, tint, protective film, or prior glass work.
- Arrange enough time for adhesive curing and any required camera calibration.
Photos are especially valuable on vehicles with delicate trim, custom finishes, or extensive paint protection film. They establish a clear pre-service record and help everyone focus on the condition standards your vehicle deserves.
Plan Around Adhesive Cure Time
A windshield is bonded into the vehicle with structural urethane adhesive. That adhesive needs time to cure before the vehicle should be driven, exposed to heavy washing, or subjected to the torsion of aggressive roads. The exact safe-drive-away time depends on the adhesive system, temperature, humidity, and vehicle design.
Do not assume an installation is ready for immediate use because the glass looks complete. Your installer should provide a specific release time based on the materials and conditions that day. In some cases, the appointment may also need to account for a calibration procedure after the adhesive has cured.
For the first day or two, avoid slamming doors, high-pressure washes, and direct spray at the windshield perimeter. Leave a small window gap when possible to reduce sudden cabin pressure. It is a modest precaution that helps protect the fresh bond while it reaches full strength.
Protect the Surrounding Finish and Interior
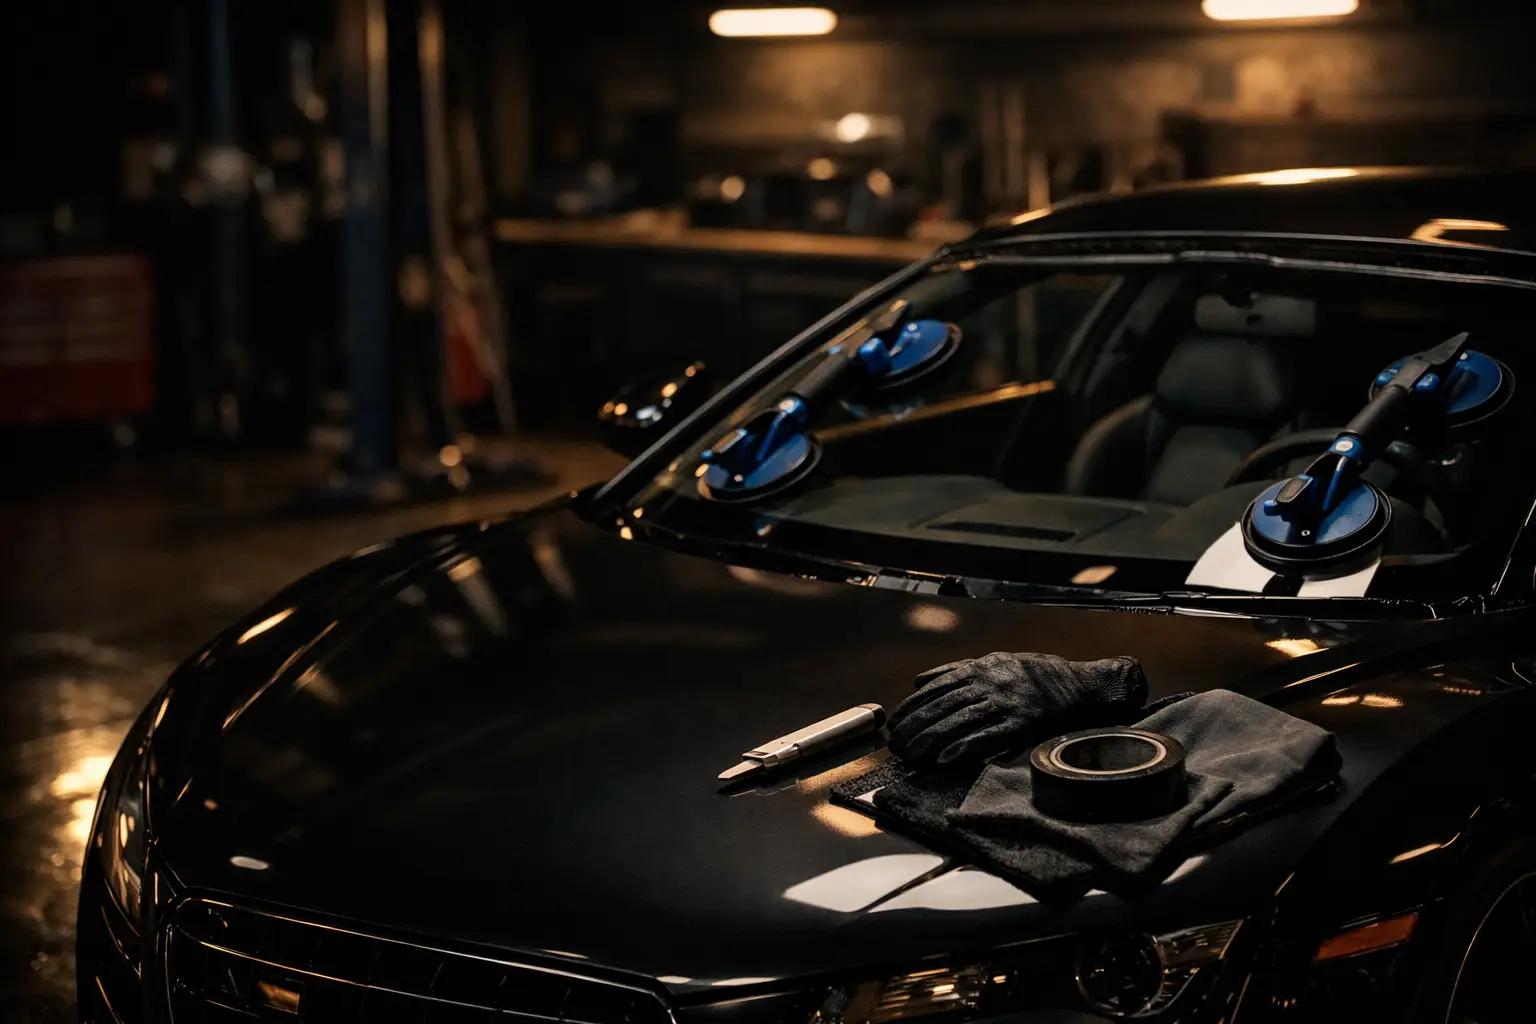
Windshield replacement involves removing exterior trim, cutting through old urethane, lifting glass near the roofline, and working closely around painted surfaces. On a vehicle with paint protection film, ceramic coating, matte paint, carbon fiber, or custom bodywork, those details deserve attention before tools touch the car.
A careful shop uses protective coverings and vehicle-specific procedures to minimize contact with the hood, fenders, roof, dash, and interior trim. This is particularly relevant for European vehicles with tightly integrated moldings and sensor hardware, as well as exotic vehicles where replacement parts and trim can involve longer lead times.
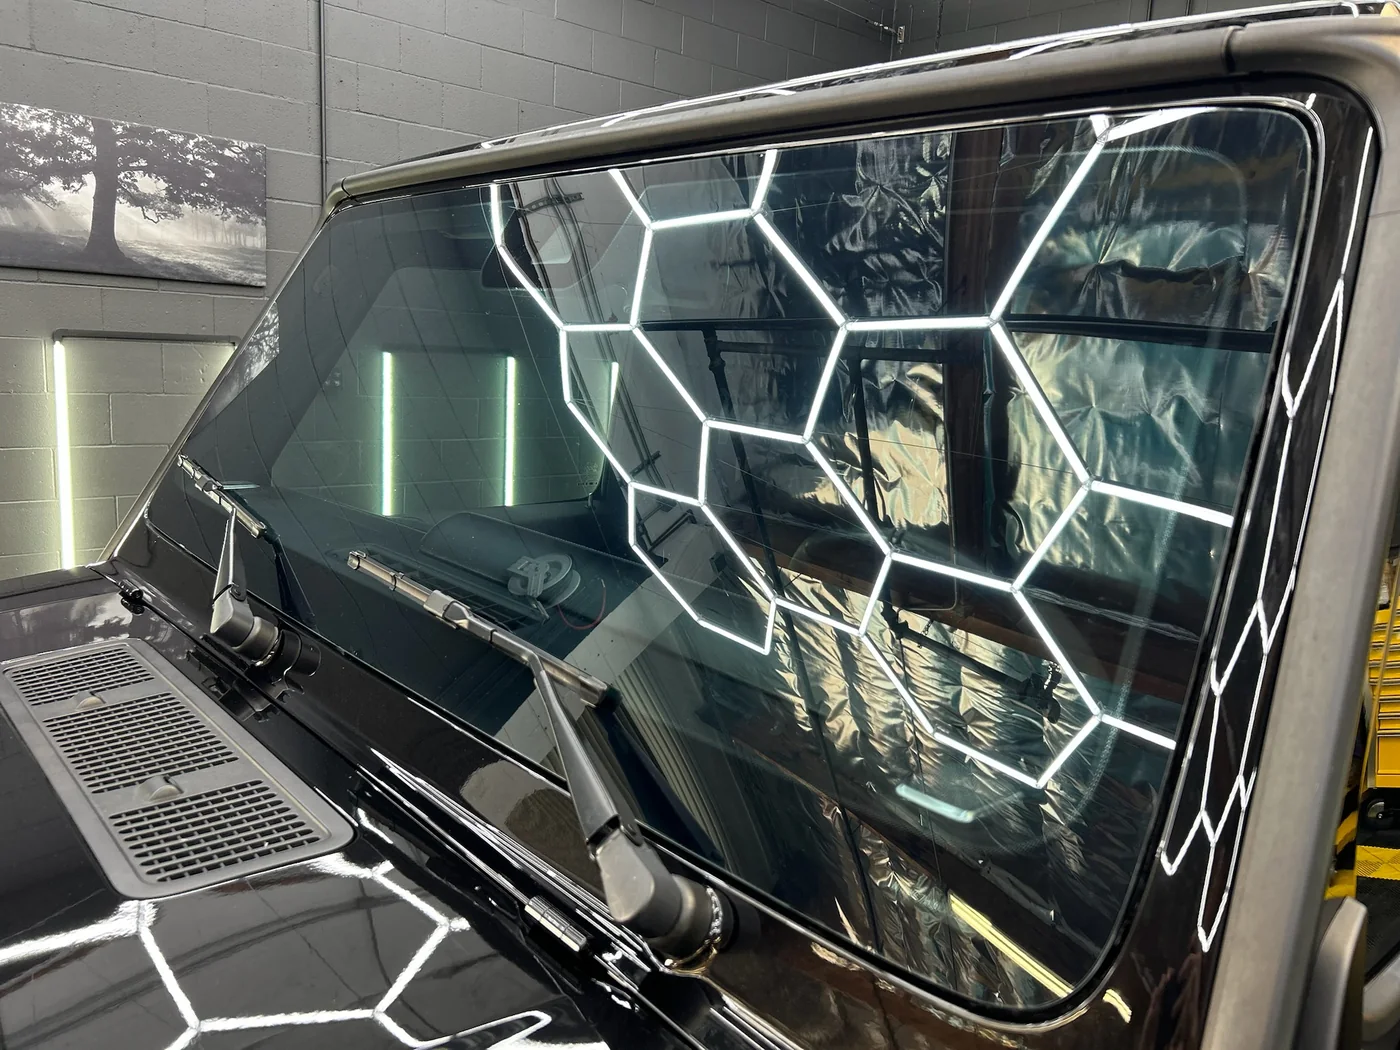
After installation, inspect the glass for optical distortion, confirm the molding and cowl panels sit evenly, and check that the mirror, rain sensor, camera shroud, and dashboard trim are properly reinstalled. Test the defroster, rain-sensing wipers, heads-up display, and driver-assistance features as applicable. Any concern is easier to address promptly than weeks later.
Consider Windshield Protection After Replacement
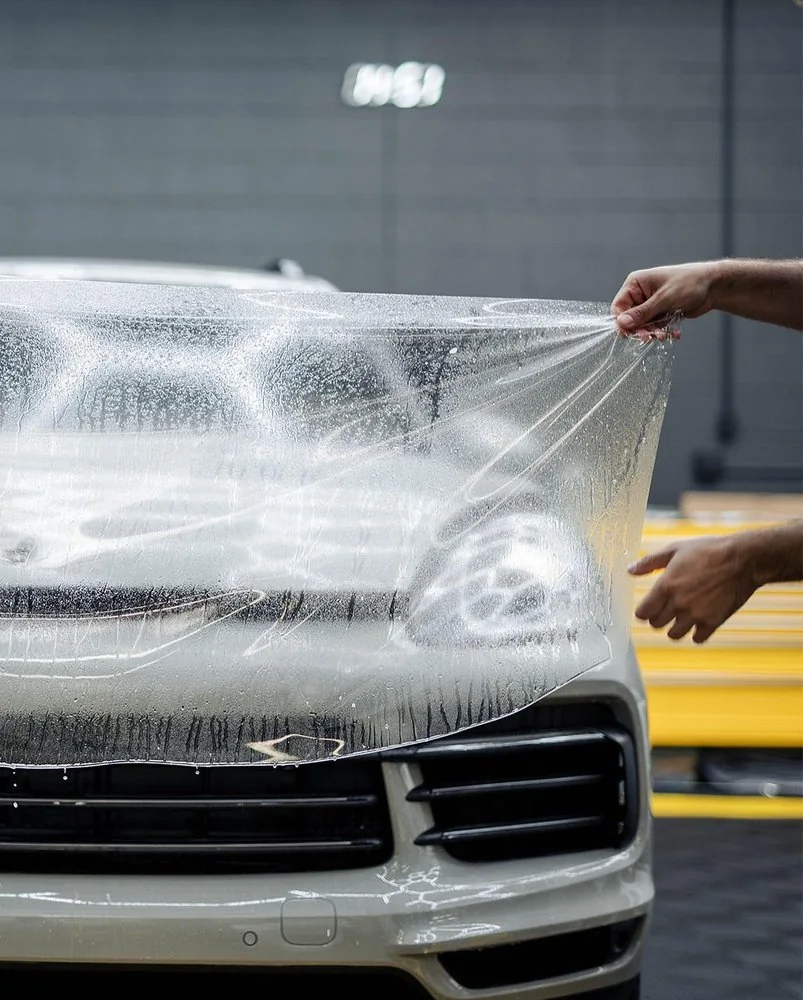
A new windshield deserves a protection plan, particularly for cars that regularly travel high-speed Bay Area corridors or mountain routes. Windshield protection film can help reduce the severity of road-debris impacts and preserve the clarity of fresh glass. The right solution depends on vehicle use, optical requirements, local regulations, and the driver’s expectations for appearance and durability.
This is also an ideal time to evaluate paint protection film around the front end, ceramic or graphene protection for exterior surfaces, and properly maintained wiper blades. A windshield cannot prevent every impact, but a coordinated approach can reduce avoidable wear across the vehicle’s most exposed areas.
At Artec Automotive, replacement planning is approached as part of comprehensive vehicle care, not as an isolated piece of glass work. The right materials, clean installation environment, calibration process, and protection strategy all contribute to a result worthy of the vehicle.
A new windshield should disappear from your mind once you are back behind the wheel: clear optics, quiet cruising, correctly functioning safety systems, and confidence that every detail around the glass was handled with the same precision as the rest of the car.