
Swirl Mark Removal for Valuable Cars: Why Test Spots Come First

Most swirl marks sit in the clear coat and come out with proper polishing, though scratches deep enough to catch a fingernail usually need professional paint work. The safest path starts with a thorough wash and a small test spot, then moves to a dual-action polisher using the least aggressive product that works. Owners of higher-value or exotic cars often skip the DIY stage entirely and book professional correction paired with lasting protection, which is an approach we recommend when the finish matters as much as the fix.
TL;DR:
- If a fingernail catches a scratch, or clear coat is thin near edges, stop polishing and seek professional paint repair.
- Wash and decontaminate the paint first, then test a hidden spot with a dual action polisher and the mildest pad and polish that works.
- For light swirls that do not catch a fingernail, hand polish small sections for 20 to 45 seconds and stop after two or three attempts.
- Seal or wax corrected paint the same day; afterward, use the two bucket wash method and never dry wipe dust from the surface.
Table of Contents
- What Swirl Marks Are and How to Assess Their Depth
- Prep: Wash, Two-Bucket Method, Decontamination, and Clay Bar
- Machine Polishing for Swirl Mark Removal (DA Polisher Workflow)
- Hand-Polishing: When It Works and How to Do It Safely
- Choosing Products and Tools for the Job
- Protecting Results and Preventing New Swirls
- Our Test-Spot Checklist for Safer Paint Correction
- When to DIY and When to Bring the Car to a Pro
- Professional Paint Correction, Ceramic Coating, and PPF at Artec Automotive
- FAQ
- Sources
What Swirl Marks Are and How to Assess Their Depth
Swirl marks are fine scratches in the clear coat, the transparent layer that sits above the colored paint and gives it depth. Because the scratches run in random, overlapping circles, they scatter light instead of reflecting it cleanly, which is what makes a panel look hazy instead of glossy under direct sun. Dark paint shows this more than light paint simply because the contrast between a dull scratch and a deep black or navy background is much harder to hide.
Before reaching for a polisher, it helps to know what you’re dealing with:
- Run your fingernail lightly across a swirled area: if it catches, the damage likely goes past the clear coat and needs paint repair, not polish.
- Inspect the panel under an LED flashlight or direct sunlight at a low angle, since this is what reveals the true swirl pattern that indoor lighting hides.
- Pick one small, inconspicuous section and treat it first, because a single test spot tells you how the paint responds before you commit to the whole car.
- Watch for very thin clear coat near edges and body lines, a common trouble spot where repeated polishing over the years has already thinned the layer.
If a scratch is tactile rather than purely visual, or if you’re working on a panel with known thin clear coat, that’s the point to call a professional rather than keep polishing.
Prep: Wash, Two-Bucket Method, Decontamination, and Clay Bar
Polishing over dirt or grit just grinds new scratches into the clear coat, so prep is not optional. Consumer Reports recommends hand-washing with back-and-forth motions rather than circular ones, automotive-specific soap instead of dish detergent, and separate tools for the wheels so brake dust never touches your wash mitt. The two-bucket method keeps that same logic going: one bucket holds soapy water, the other holds clean rinse water for your mitt, so grit drops out instead of transferring back onto the paint on your next pass.
A practical prep sequence looks like this:
- Rinse the car fully first to knock off loose dirt before a mitt ever touches the surface.
- Wash one panel at a time using the two-bucket method, moving the mitt lengthwise rather than in circles.
- Rinse and dry promptly with a clean, plush microfiber towel to limit water spotting.
- Run a clay bar or clay mitt with spray lubricant over each panel until it glides smoothly, which tells you the bonded contaminants are gone.
- Wipe the panel dry again and move to the next section with a fresh, clean towel.
Pro Tip: Wash and dry towels separately from household laundry and skip the fabric softener, since residue left on microfiber reduces its ability to lift grit safely.
Machine Polishing for Swirl Mark Removal (DA Polisher Workflow)

A dual-action, or DA, polisher is the right starting tool for almost anyone correcting swirls at home. Unlike a rotary buffer, the pad on a DA polisher oscillates instead of spinning in one fixed motion, which makes it far harder to burn through the clear coat even if you linger too long in one spot.
The workflow follows a simple, least-aggressive-first order:
- Choose a small, hidden test spot and attach a soft finishing pad.
- Apply a few pea-sized drops of finishing polish and spread it at low speed before working it at the recommended speed setting.
- Work the area in slow, overlapping crosshatch passes, watching the polish as it transitions from milky to clear, a sign the product has finished its job.
- Wipe the spot clean and inspect it under a bright light or flashlight.
- If swirls remain, step up to a slightly firmer pad or a mild polish, and only move to a cutting compound after a mild attempt has genuinely failed.
- Once you find a combination that clears the test spot, repeat the same pad, product, and pass count across the rest of the panel.
One pass with the right pad and product combination is often enough: a proper test-spot and least-aggressive-first progression frequently resolves light swirls in a single pass, which saves both time and clear coat.
Tape off plastic trim, badges, and edges before you start, and back off the pressure as you near body lines, since clear coat is thinnest there and easiest to burn through. Polishing is a subtractive process: every pass removes a microscopic layer of clear coat, so professionals treat that layer as a finite budget rather than something to spend carelessly. Seal or wax the paint the same day you finish polishing, since bare, freshly corrected clear coat has no protection against new contamination until it’s sealed.
Hand-Polishing: When It Works and How to Do It Safely
Hand polishing has a real place, but only for light swirls that fail the fingernail test in the other direction, meaning they’re visible but not tactile. It won’t deliver the same correction as a machine, and Consumer Reports notes it’s usually slower and less consistent than a DA polisher, so set your expectations accordingly before you start.
- Choose an all-in-one polish or a light rubbing compound rather than a heavy cutting product, since hand pressure alone can’t safely control an aggressive compound.
- Apply with a foam applicator pad, working small, overlapping crosshatch passes over roughly a two-foot section at a time.
- Keep each worked area to about 20 to 45 seconds before wiping it off with a clean microfiber towel, then inspect it under good light before deciding whether to repeat.
- Avoid pressing harder to force results, since excess pressure on a small hand-worked area risks uneven correction rather than a cleaner finish.
If a section still looks hazy after two or three honest attempts, that’s the car telling you it needs a machine or a professional, not more elbow grease.
Choosing Products and Tools for the Job
Polishing products range from aggressive to mild, and matching the right one to the paint in front of you matters more than buying the most expensive bottle on the shelf. Cutting compounds remove the most material and are reserved for heavier defects, polishes sit in the middle, and finishing polishes add gloss with minimal cut. Glazes, sealants, waxes, and ceramic coatings come after correction, since polishing and protecting are separate jobs that shouldn’t be combined into one product.
- Match pad firmness to the task: firm or wool pads cut more aggressively, while soft foam pads are built for finishing work and maintenance.
- A random-orbital or dual-action polisher suits nearly every home user, since a rotary buffer demands more skill to avoid damaging paint.
- Stock separate, labeled microfiber towels for polish, wax, and general wiping so cross-contamination doesn’t undo your correction work.
Pro Tip: Wash pads and towels after every session and let them air dry fully, since trapped grit in a “clean-looking” pad is one of the most common causes of fresh swirls.
Protecting Results and Preventing New Swirls
Freshly corrected paint has no defense against new scratches until you add a protective layer, so sealing the same day you finish polishing isn’t optional if you want the result to last. Wax offers the shortest window of protection, a sealant typically holds up for several months, and a ceramic coating offers the longest-lasting barrier against the washing habits that caused swirls in the first place.
- Stick with the two-bucket wash method permanently, not just as a one-time fix for the correction job.
- Never dry-wipe dust off paint, since that motion alone drags grit across the clear coat and starts the swirl cycle over.
- Keep wash mitts and drying towels clean and dedicated to paint only, away from wheels, glass, or trim.
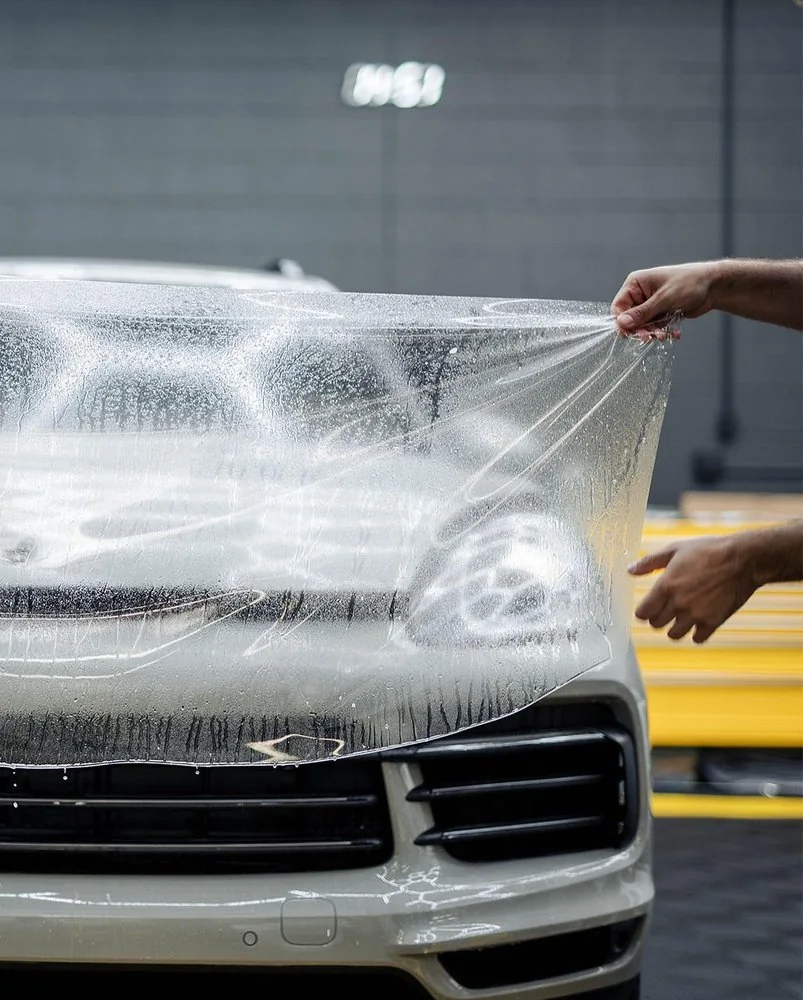
- Consider paint protection film on high-exposure panels like the front bumper and hood if the car sees regular highway miles, since PPF adds a sacrificial layer that absorbs the kind of impact wax and sealant can’t.
For glass and surrounding trim during wash and dry routines, the same careful habits apply; proper glass care keeps grit away from panel edges where swirls often start.
Our Test-Spot Checklist for Safer Paint Correction
We approach every correction job the same way we’d want a customer to approach their own driveway attempt: read the paint before touching it with a pad. Our checklist includes a few consistent steps:
- Read the paint condition and clear-coat thickness before choosing a pad or compound.
- Run least-aggressive-first passes on a test spot, inspecting results in direct light before moving to the next panel.
- Treat edges, body lines, and factory-thin areas with reduced pressure and shorter dwell time.
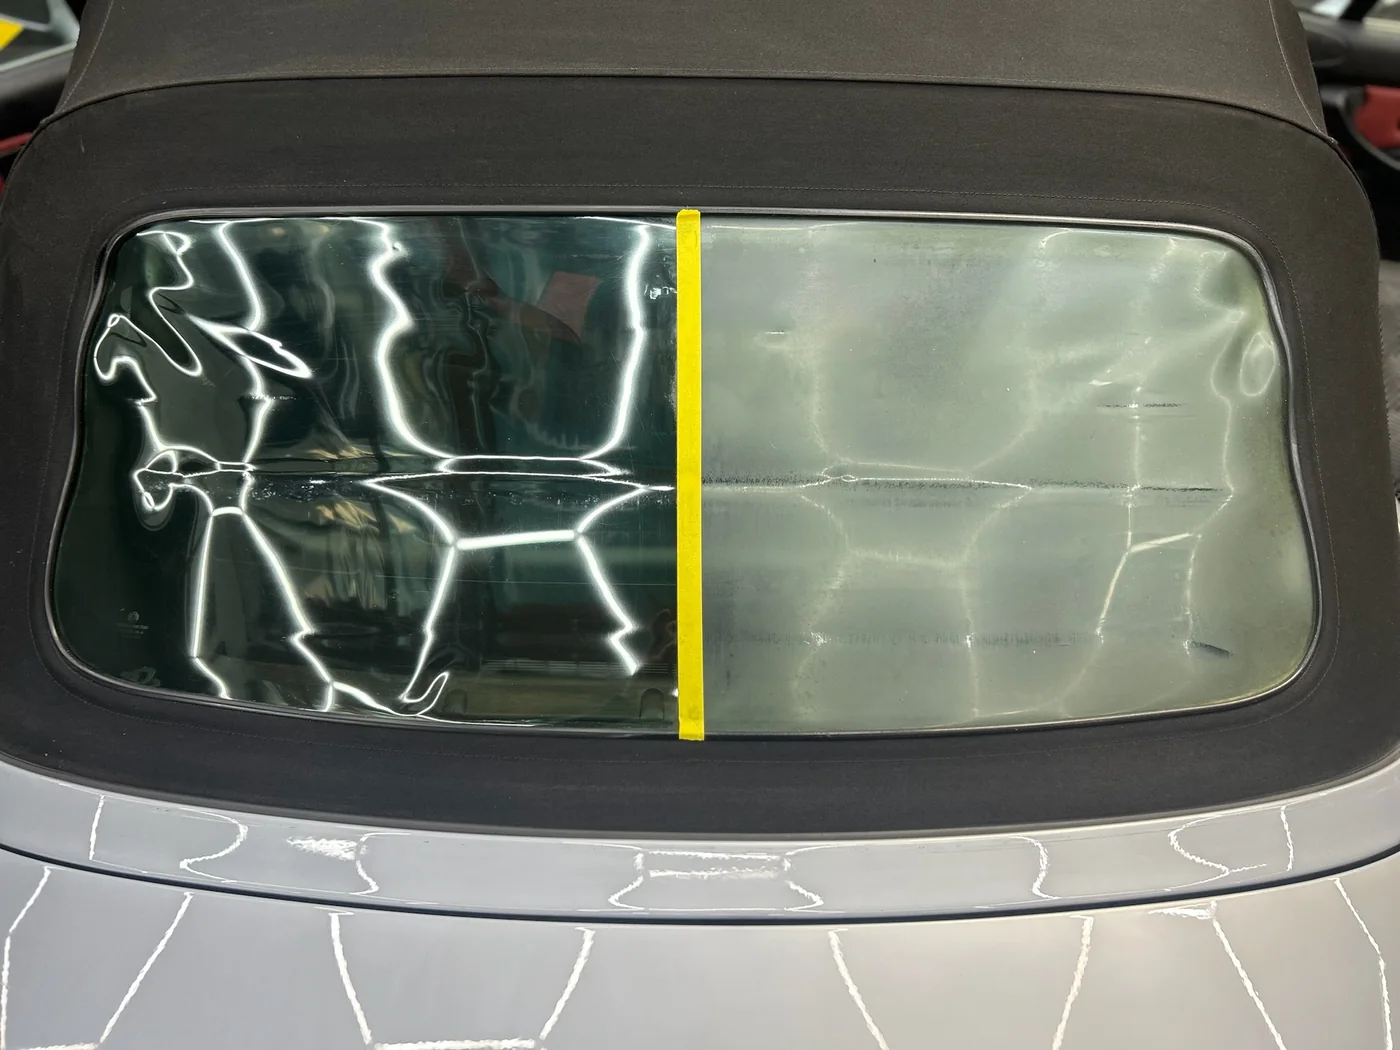
- Document before-and-after results with photos so owners see exactly what correction achieved.
For cars where the finish carries real value, we typically pair staged paint correction with a ceramic coating or PPF rather than leaving freshly corrected clear coat unprotected. Our multi-stage correction process is built around that same clear-coat budget logic: fix what’s there, then protect it so the work doesn’t need repeating in a year.
When to DIY and When to Bring the Car to a Pro

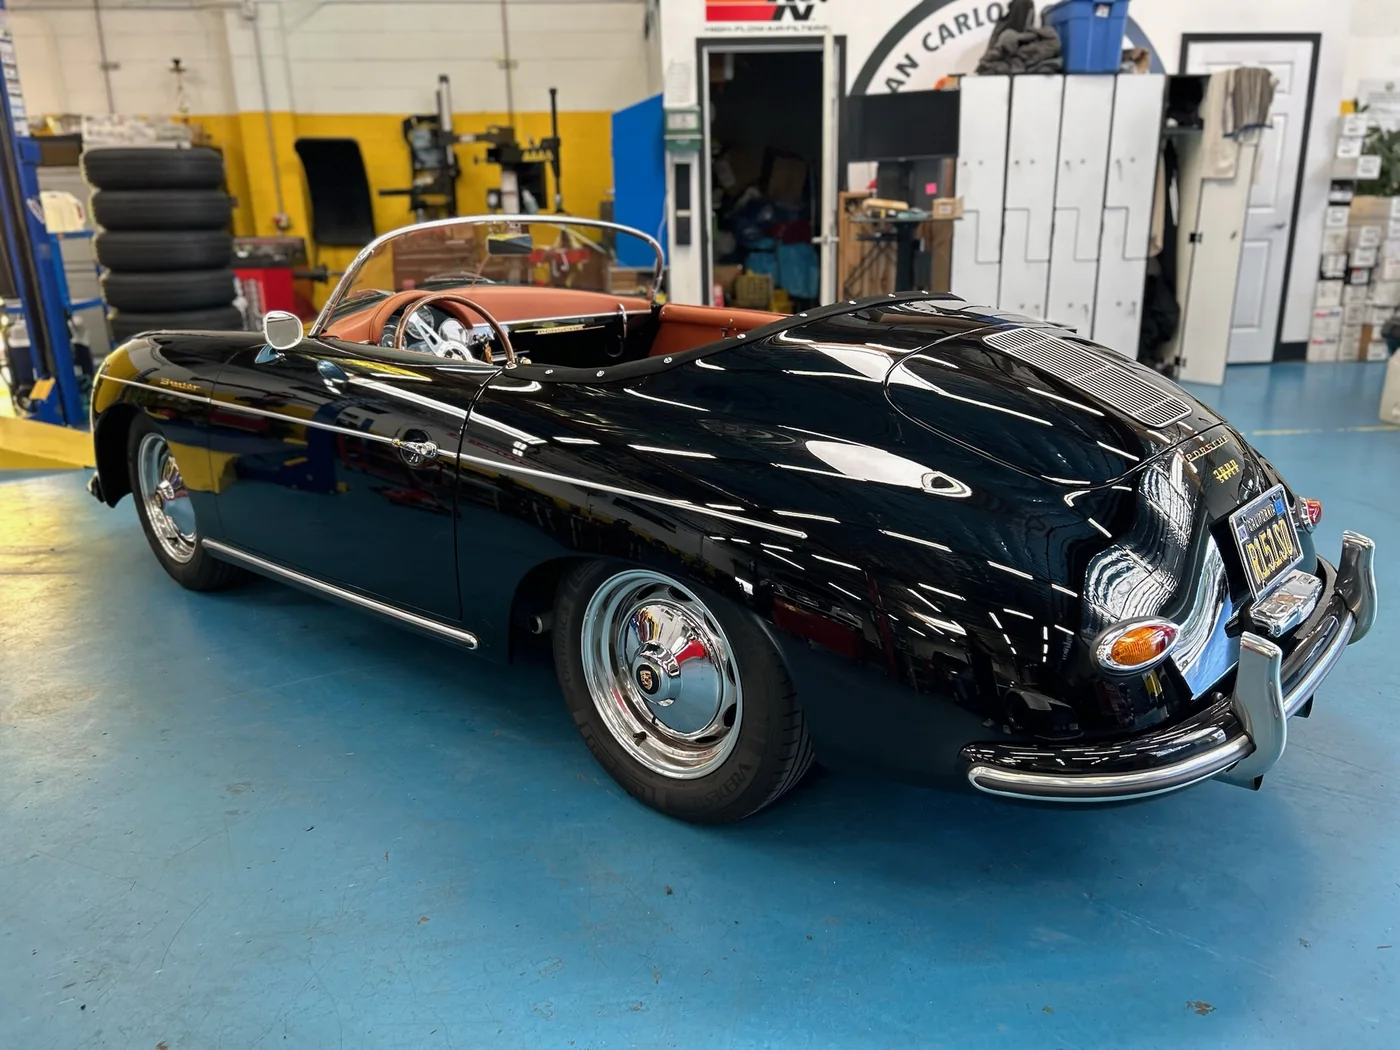
Light swirls on a small area, with time to learn the process, are reasonable to tackle yourself. Deep or widespread swirling, thin clear coat near edges, or a full vehicle correction on an exotic, classic, or collector car is where the math changes: one bad pass can remove clear coat that took decades to accumulate and can’t be put back.
For owners of European, exotic, and classic vehicles who’d rather not gamble clear coat on a learning curve, specialist correction protects both the finish and the car’s long-term value.
— Artec
Professional Paint Correction, Ceramic Coating, and PPF at Artec Automotive
Paint correction services follow the same least-aggressive-first principle covered above, scaled to whatever level of defect the paint actually has rather than a one-size approach. A typical visit starts with a paint reading and test spot, moves through documented before-and-after photos, and ends with a protection recommendation suited to how and where the car is driven.
- Choose from detailing packages, including Bronze, Silver, and Gold, each built around a different depth of correction and finish work.
- Add a ceramic coating after correction for extended gloss retention and easier future washing.
- Protect high-exposure panels with paint protection film for owners who want a physical barrier against new swirls and chips.

If you’d like to see the kind of correction and restoration work we do before booking, our project gallery shows finished examples across exotic, classic, and European vehicles. Reach out through our car detailing page to request a quote or schedule an assessment.
FAQ
Can swirl marks be permanently removed?
Swirl marks can be fully removed through polishing since the damage sits in the clear coat, not the paint underneath. The fix only stays permanent if washing habits change afterward, since the same bad habits that caused the original swirls will simply create new ones.
What is the best swirl remover?
The best product depends on swirl severity: a finishing polish handles light swirls, while a dedicated cutting compound is reserved for deeper ones found only after a finishing polish fails on a test spot. Starting with the least aggressive product first protects clear coat and often resolves light swirls without ever needing a stronger compound.
Why do I still have swirls after buffing?
Leftover swirls usually mean the product or pad combination wasn’t aggressive enough for the depth of the scratches, or the panel wasn’t worked long enough to let the polish fully break down. It can also mean the compound used was too mild and needs to step up one level, following the same least-aggressive-first progression rather than jumping straight to the strongest product available.
Can you polish out swirl marks by hand?
Light swirls that aren’t tactile can often improve with hand polishing using an all-in-one polish and a foam applicator, though results are typically slower and less complete than machine polishing. Deeper or widespread swirling usually needs a dual-action polisher or professional correction to fully resolve.
Sources
- Swirl Marks On Car: What Causes Them And How To Remove Them | Chemical Guys
- How to Remove Swirl Marks: Causes and Cure | Service VIN
- How to Remove Swirl Marks | Two Bucket Club
- How to wash your car | Consumer Reports