
Restoration First Rust Repair for Classic Cars: Cut, Weld, Protect, Finish

Most rust on classic cars is repairable unless it has compromised structural members; start by identifying and documenting every affected area. The general order is: identify, assess severity and cost, cut and replace or treat the metal, restore corrosion protection with cavity wax, seam sealer, and weld-through primer, then finish, and blend the paint. Budget a contingency for what you find once panels come off.
TL;DR:
- Most rust on classic cars remains repairable unless it has compromised structural components like the frame or suspension mounts, which require professional assessment.
- Surface rust can often be treated with mechanical methods, but scale and perforating rust need targeted removal, repair, or replacement with new panels.
- Proper rust removal depends on metal condition; using the correct tools and stopping at thin or fragile metal prevents further damage.
- Fully restoring corrosion protection demands applying cavity wax, seam sealers, primers, and proper coatings after welding or patching.
- Hidden rust discovered during repair can significantly increase costs, so thorough inspection and contingency budgeting are essential before beginning restoration.
Table of Contents
- Identifying rust: types, common locations, and how to inspect a classic car
- Assess severity and cost: evaluate what’s repairable, what needs replacement, and budgeting guidance
- Removing rust: surface-prep methods and when each method is right
- Cutting out rust and restoring metal: templates, patch panels, welding and bonding options
- After-repair corrosion protection: cavity waxes, seam sealers, undercoats, primers and OEM-restoration steps
- Finishing and paint blending after rust repair
- Tools, consumables and shop setup: what you really need for DIY repairs and pro shops use
- When to call a pro and a shop checklist for getting accurate estimates
- Artec Automotive: practical evidence of experience and how we approach rust repair on classics
- Safety precautions when working with rust removal chemicals and welding
- Dealing with rust on specific classic car materials like chrome and aluminum components
- Common mistakes in rust repair on classic cars and how to avoid them
- Perspective: balancing originality vs longevity in rust repairs
- How Artec can help: classic car rust repair and restoration services
- Sources
- FAQ
Identifying rust: types, common locations, and how to inspect a classic car
Not all rust behaves the same way, and knowing which type you’re looking at determines the repair path. Surface rust sits on top of the metal, usually as a rough orange film that wire wool or a flap disc removes quickly. Scale rust is deeper and flakes off in layers, often leaving pitting behind even after cleanup. Perforating or structural rust has eaten through the metal entirely, or it has weakened a load-bearing section such as a frame rail or floor pan to the point where it flexes or crumbles under light pressure.
A methodical inspection catches problems before they become surprises mid-repair. Work through these areas on any classic before you touch a grinder:
- Check rocker panels, floor pans, and trunk floors by pressing firmly with your hand or a small pry bar.
- Inspect behind body mounts, door bottoms, and wheel wells where moisture collects and drains slowly.
- Look under carpets, insulation, and trim for bubbling paint, blisters, or a hollow sound when tapped.
- Probe windshield sills, suspension mounts, and frame rails with a screwdriver to feel for soft or crumbling metal.
Photograph every affected area and sketch a simple diagram before disassembly. That record becomes your repair map and, later, your proof of work if you sell the car.
Assess severity and cost: evaluate what’s repairable, what needs replacement, and budgeting guidance
Once you know where the rust is, the next question is how bad it really is. Metal thickness matters more than appearance: a panel that still rings solid when tapped and holds a magnet firmly is often salvageable with surface treatment, while metal that flexes, crumbles, or has visible pinholes usually needs to be cut out. Structural involvement changes the calculus entirely. Rust in a frame rail, subframe mount, or suspension pickup point is a safety issue, not a cosmetic one, and it typically calls for professional repair.
Use these decision rules when you’re standing in front of a rusted panel:
- Patch small, shallow perforations if the surrounding metal is sound and structurally uninvolved.
- Replace the full panel section when pitting or thinning extends beyond a clean patch boundary.
- Treat body filler as a finishing step only, never as a substitute for solid metal underneath.
- Escalate to a shop when rust touches frame rails, mounts, or suspension points.
A full classic restoration typically runs $25,000 to $80,000 for driver quality and $50,000 to $150,000 for show quality, with bodywork and paint making up roughly 35 to 45% of that total. Hidden rust discovered mid-project commonly adds $5,000 or more, sometimes exceeding $20,000, which is why experienced restorers build in contingency from the start. Before committing to a shop or a DIY plan, ask what percentage of the estimate is contingency, whether the quote covers disassembly to inspect hidden areas, and how additional rust discoveries will be priced.
Removing rust: surface-prep methods and when each method is right
Choosing the right removal method depends on the metal’s condition and what finish the area needs afterward. Each approach has a place, and using the wrong one can create more work than it solves.
- Sanding, wire brushing, and flap discs work well for surface rust on flat or gently curved panels where you want control and minimal metal removal.
- Grinding clears scale rust faster but removes more material, so it’s best reserved for areas being replaced or heavily filled afterward.
- Sandblasting or media blasting strips rust from complex shapes, such as brackets or the underside of floor pans, without the gouging risk of a grinder.
- Rust-removal gels and converters suit tight spots and hidden cavities where mechanical tools can’t reach, converting remaining rust into a stable, paintable surface.
Mask surrounding trim and glass before you start, and control dust with a shop vacuum or wet-sanding where the material allows it. Wear a respirator rated for the chemical or dust you’re handling, along with eye protection. Stop as soon as removal reveals metal thin enough to flex or show light through it: that’s your signal to move from surface treatment to cutting and patching. Common mistakes include over-grinding until the panel warps from heat, and leaving scale rust behind because it looked clean from a distance while pitting remained underneath.
Cutting out rust and restoring metal: templates, patch panels, welding and bonding options
Once you’ve identified metal that’s too far gone to treat, the repair shifts to cutting and replacing. Mark the boundary of sound metal, cut back to clean edges, and make a cardboard or sheet-metal template of the area before ordering or fabricating a patch panel. Trial-fit every patch dry before any welding begins, checking gaps, flange alignment, and panel curvature against the surrounding bodywork.
- Use MIG or TIG welding for structural patches where strength and heat control matter most.
- Reserve brazing for thin, non-structural trim areas where lower heat protects surrounding metal.
- Consider panel bonding adhesives for secondary cosmetic panels, following OEM guidance on adhesive versus structural use, since bonding is not appropriate for load-bearing sections.
- Use spot or plug welding to replicate factory seams where the original panel was spot-welded rather than continuously joined.
Tack weld in a pattern that spreads heat evenly, then stitch-weld in short passes to avoid warping thin sheet metal. Grind welds smooth only after checking penetration, and apply a weld-through coating such as 3M Weld-Thru II to bare metal before closing up seams, since it protects the joint from corrosion and dries quickly enough to keep the job moving. For panel repair options beyond simple patching, including when adhesive bonding makes sense versus full replacement, a detailed body panel repair guide walks through the trade-offs in more depth.
Pro Tip: Dry-fit every patch panel twice, once before final trimming and once after, since flange geometry shifts slightly once metal is cut free of its original shape.
After-repair corrosion protection: cavity waxes, seam sealers, undercoats, primers and OEM-restoration steps
Cutting and welding solve the immediate problem, but skipping corrosion protection afterward guarantees the rust comes back. OEM-level protection is built from four parts: cavity wax, seam sealers, coatings or undercoats, and a proper paint system, and restoring all four is what brings a repaired area back to factory-level protection after the original E-coat has been disturbed by cutting or welding.
- Apply weld-through or epoxy primer to bare metal before any seam sealing, since sealant over untreated steel traps moisture rather than blocking it.
- Use a sprayable undercoating such as SEM Dual-Mix Sound & Seal on rocker panels, trunk floors, and floor sections, which is paintable in about 30 minutes once properly prepped.
- Inject cavity wax into enclosed sections like rocker interiors and frame rails, where paint alone never reaches.
- Check the primer’s technical data sheet before layering coatings, since some undercoats are not compatible with every primer type.
Let each layer cure fully before the next goes on, and reassemble trim and panels only after verifying wax and sealant have reached every seam and cavity, not just the visible edges.
Finishing and paint blending after rust repair
Once the metalwork and corrosion protection are done, the final step is making the repair disappear. Body filler has its place for leveling minor low spots over sound welded metal, but it should never span more than a thin skim coat, since thick filler cracks and telegraphs through paint over time. Feather-and-block sanding across a wider radius than the repair itself gives a straighter, more honest surface than filler alone.
- Use epoxy or 2K urethane primer for corrosion resistance and adhesion on bare or welded metal.
- Reserve etch primer for small spot repairs where minimal build is needed.
- Blend clear coat well beyond the repair edge to avoid a visible ring where new paint meets old.
- Check film thickness and seam edges before reassembly, since thin spots show up fast once the car is back in the sun.
For a deeper look at surface prep, primer choice, and blending technique, a pro’s guide to automotive refinishing covers the finishing side in more detail than most rust-repair guides.
Tools, consumables and shop setup: what you really need for DIY repairs and pro shops use
A basic rust repair job needs a grinder with flap discs and cutoff wheels, a spot weld cutter, body dollies and hammers, and a MIG welder capable of thin-gauge sheet metal. Pneumatic tools speed up panel removal, and a media blasting cabinet handles small brackets and hardware that don’t fit under a grinder.
- Stock weld-through primer, epoxy or 2K primer, seam sealer, and cavity wax before starting any cutting.
- Keep a supply of sanding discs, grinding wheels, and matched welding wire or rods on hand.
- Set up ventilation and dust extraction for any sanding or blasting work, and wear a respirator rated for the material.
- Rent or outsource media blasting and frame-straightening equipment rather than buying it for a single project.
When to call a pro and a shop checklist for getting accurate estimates
Some rust findings are a clear signal to stop and call a shop rather than push forward solo.
- Frame or structural rust that affects load paths or suspension mounting points needs professional assessment before any repair begins.
- Extensive panel replacement across multiple sections often costs less in shop labor than in wasted DIY attempts and materials.
- Limited welding experience on structural sheet metal is a good reason to have a shop handle cutting and replacement.
- Corrosion near suspension or steering mounts should always go to a professional given the safety stakes.
When getting quotes, ask what the inspection covers, whether disassembly is included before pricing, and what corrosion protection steps (cavity wax, seam sealer) are part of the job rather than an add-on. Request sample photos of past rust repairs and ask whether the shop warranties the work. Compare quotes scope by scope, not just by total price, and factor in a realistic timeline alongside the cost benchmarks and contingency ranges discussed earlier.
Artec Automotive: practical evidence of experience and how we approach rust repair on classics
Artec Automotive has worked on classic and exotic vehicles since 2001, and rust repair follows the same sequence outlined above: inspect and document, assess severity, cut and weld or bond as appropriate, then restore corrosion protection before finishing. Every step is handled with photo documentation and tailored recommendations rather than a one-size-fits-all estimate. For owners weighing DIY against a shop, the deciding factor is usually whether structural metal or hidden cavities are involved, areas where a wrong call is expensive to undo.
Safety precautions when working with rust removal chemicals and welding
Rust removal chemicals and welding both carry real risks, and the right precautions depend on which task you’re doing. Rust converters and gels often contain phosphoric or tannic acid compounds that irritate skin and eyes on contact, so nitrile gloves and splash-proof goggles are non-negotiable. Work in a ventilated space, since fumes from some converters build up quickly in an enclosed garage.
Grinding and sandblasting throw fine metal and abrasive particulate into the air. A respirator rated for particulates, not just a paper dust mask, protects your lungs during extended sessions, and safety glasses or a full face shield prevent eye injury from flying debris. Keep bystanders and pets clear of the blast area.
Welding introduces its own hazards: UV exposure from the arc, hot metal spatter, and fumes from primer or coating residue burning off during the weld. Grind primer and coatings back from the weld area itself, since burning through paint or old undercoating releases fumes you don’t want to breathe. A proper welding helmet with the correct shade, flame-resistant gloves, and a fire extinguisher within reach are standard shop practice, not optional extras. Keep a clear path to ventilation, and never weld near solvent-based products or open rust-converter containers, since some of these chemicals are flammable near heat and sparks.

Dealing with rust on specific classic car materials like chrome and aluminum components
Chrome and aluminum don’t rust in the traditional sense, but they corrode in ways that need different handling than steel. Chrome plating sits over a steel or brass base, and rust usually shows up as bubbling or pitting where the plating has failed and moisture reached the base metal underneath. Once chrome bubbles, polishing won’t fix it: the plating has to be stripped and the part re-chromed by a specialist shop, since chrome plating isn’t a DIY process.
Aluminum corrodes through oxidation rather than rust, producing a white, powdery buildup instead of the familiar orange scale. This is common on aluminum trim, some engine components, and later-model classic bodywork. Avoid steel wire brushes or grinding wheels that have touched steel, since cross-contamination can accelerate galvanic corrosion on the aluminum surface. Aluminum-specific abrasive pads and non-chlorinated cleaners handle light oxidation, while heavier pitting may need a machine shop for proper resurfacing.

Galvanic corrosion is a related concern wherever steel and aluminum meet, such as at brackets or fasteners. Isolating dissimilar metals with a barrier, such as a compatible sealant or non-metallic washer, reduces the chance of accelerated corrosion at that junction down the road.
Common mistakes in rust repair on classic cars and how to avoid them
The most common mistake is treating body filler as a repair rather than a cosmetic finish. Filler over thin or perforated metal looks fine for a season and then cracks or falls out once the metal flexes underneath. If you can flex the panel by hand, filler isn’t the answer.
Skipping corrosion protection after welding is another frequent error. A freshly welded patch with no weld-through primer, seam sealer, or cavity wax is often more vulnerable than the original rust-free panel, since bare metal at the weld joint has no protection at all. Rushing the fit-up on patch panels causes problems too: welding a poorly fitted patch under tension leads to warping and stress cracks in the paint later.
Underestimating hidden rust is a budgeting mistake as much as a technical one. Rust visible on the surface is often only part of the problem, and projects that don’t budget contingency for hidden corrosion tend to stall when the real scope appears. Finally, using the wrong removal method for the job, such as aggressive grinding on thin panel steel, thins the metal further and creates new problems where none existed before.
Perspective: balancing originality vs longevity in rust repairs
Preserving original metal matters for concours judging and collector value, but it’s only worth the risk when the metal is genuinely sound enough to hold. Once rust has compromised structural integrity, replacement is the responsible choice regardless of originality concerns. Driver-quality builds can lean on modern coatings and welded patches for longevity; concours builds demand closer attention to matching factory methods, even where that means more labor for the same corrosion protection outcome.
— Artec
How Artec can help: classic car rust repair and restoration services
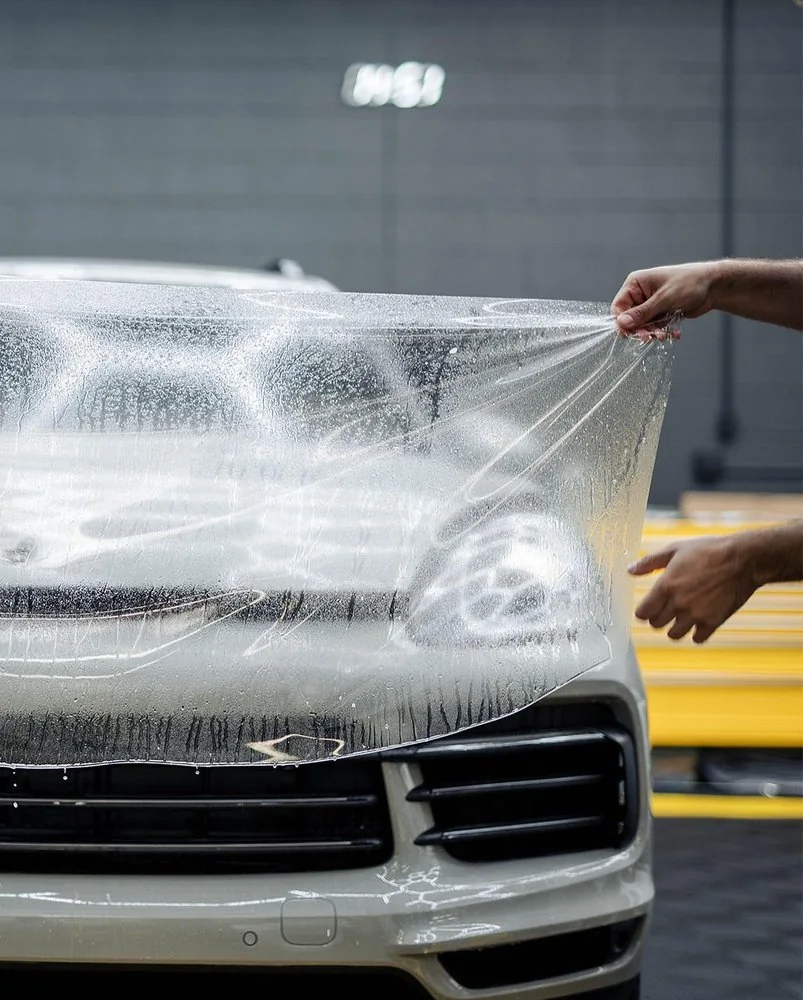
Rust repair on a classic often overlaps with the rest of the car’s condition, which is why Artec Automotive handles classic car repair and full restoration work under one roof rather than passing pieces between shops. Paint protection film and detailing services are also options once bodywork is finished, for owners who want to protect the repaired panels going forward.

When bringing a classic in for rust evaluation, expect a full inspection, a transparent estimate that separates known scope from contingency, and a corrosion protection plan matched to whether the car is a daily driver or a show piece. If you’re weighing a repair against a full restoration, reach out about classic car repair to get a scope-based estimate before committing to either path.
Sources
- Classic Car Restoration Cost Calculator (2026): Real Benchmarks by Category | VeryWellAuto
- 3M™ Weld-Thru II product information
- Four ways to protect against corrosion (3M Automotive Aftermarket Division)
FAQ
Can you fix rust on an old car?
Most rust on a classic car is repairable, whether through surface treatment, patch panels, or full section replacement, as long as structural members like frame rails or suspension mounts aren’t compromised. When structural metal is involved, professional repair is the safer route rather than a DIY fix.
What is the $3,000 rule for car repairs?
This is a common rule of thumb some owners use to decide whether a repair bill is worth paying relative to a vehicle’s value, rather than an official industry standard. For classic and collector cars, the decision usually comes down to restoration goals and long-term value rather than a fixed dollar threshold.
Is it worth repairing rust on a car?
For a classic or collector vehicle, repairing rust is almost always worth it, since untreated corrosion spreads and eventually affects structural integrity and resale value. The cost depends heavily on scope, and hidden rust discovered during disassembly commonly adds thousands to a project, so budgeting contingency upfront makes the decision easier to commit to.
Is it worth rustproofing an older car?
Rustproofing an older car, particularly after any rust repair, helps prevent the same corrosion from returning in cavities and seams that paint alone doesn’t protect. Restoring OEM-style protection with cavity wax, seam sealants, and coatings is standard practice after metalwork and is generally worth the modest added cost and time.