
Paint Correction Stages: 50–95% Improvement Ranges and a Shop Checklist

Paint correction stages describe how many passes a detailer makes to remove clearcoat defects, with stage 1 polishing away light haze and swirls, stage 2 adding a cutting step for deeper scratches, and stage 3 combining multiple aggressive passes for heavily neglected paint. Most daily-driven cars only need stage 1 or stage 2, while stage 3 is reserved for severe oxidation or years of poor washing habits. A professional inspection under proper lighting is the only reliable way to confirm which stage your car actually needs.
TL;DR:
- A one step polish typically removes 50% to 80% of visible defects; two step work reaches 80% to 95%, with more time and clearcoat loss.
- Before approving multi stage work, require paint thickness readings and a documented test spot, especially on repainted panels, where thinner or uneven clearcoat raises risk.
- Choose stage 1 for light swirls and fine wash marks; scratches that catch a fingernail or heavy oxidation generally require compounding and polishing.
- A shop should wash, clay, and remove bonded iron before polishing, then apply wax, sealant, ceramic coating, or paint protection film to preserve results.
- For collector cars, reserve aggressive multi stage correction for show goals; a careful stage 1 polish can preserve original paint and clearcoat on occasional drivers.
Table of Contents
- How paint correction actually works
- Stage 1: what an enhancement polish actually delivers
- Stage 2: two-step correction and what it adds
- Stage 3 and multi-stage correction: the ceiling and its risks
- How to choose the right correction stage for your car
- Preparing your car and protecting the results afterward
- What a professional inspection and correction looks like
- Balancing perfection, originality, and cost on a collector car
- Protecting your paint after correction with Artec Automotive
- FAQ
- Sources
How paint correction actually works
Paint correction removes a microscopic layer of clearcoat to level out scratches, swirls, and oxidation, leaving a flatter surface that reflects light cleanly. Two distinct steps do the work, and confusing them leads to disappointing results or unnecessary paint loss.
Compounding uses a coarser abrasive and a cutting pad to remove deeper defects quickly, leaving some fine haze behind. Polishing follows with a finer abrasive and a softer pad to refine that haze into a clear, glossy finish. The combination, how aggressive the compound is, how fast the machine spins, and how firm the pad is, determines how much clearcoat comes off and how sharp the final result looks.
A sound workflow always follows the same order:
- Decontaminate first with a wash, clay bar, and iron remover to strip bonded contaminants from the surface.
- Correct second using compounding and polishing steps matched to the defect severity.
- Protect last with a wax, sealant, ceramic coating, or paint protection film to lock in the finish.
Skipping decontamination traps grit under the pad and creates new scratches, undoing the correction before it even starts.
Stage 1: what an enhancement polish actually delivers
A stage 1 correction, often called an enhancement or one-step polish, uses a single pass with a finishing polish to remove light swirl marks, minor oxidation, and fine wash-induced scratches. It will not touch deeper scratches that catch a fingernail, and it will not fully erase heavy haze baked into years of improper washing.
What a one-step polish typically accomplishes:
- Removes light swirls and spider-webbing visible mainly in direct sunlight.
- Restores gloss and clarity to paint that still has most of its original clearcoat intact.
- Smooths out fine wash marks without removing significant clearcoat thickness.
Experienced detailers estimate that one-step correction restores roughly 50 to 80 percent of visible defects, with the exact outcome depending on how sensitive the paint is and how deep the existing damage runs. That range matters when you are comparing quotes: a shop promising a complete, defect-free finish from a one-step service is setting an expectation the process cannot reliably deliver.
Stage 1 suits cars that are washed regularly, garage-kept, or only a year or two old with light marring. It is also the right starting point before a ceramic coating application, since coatings lock in whatever clarity exists underneath rather than hiding flaws. If your paint has deeper scratches, heavy oxidation, or has never been corrected, a one-step polish will improve appearance without resolving the underlying problem, and you will likely notice the remaining defects once the car sits in full sun.
Stage 2: two-step correction and what it adds
A stage 2 correction adds a compounding pass before the polishing step, cutting through deeper scratches and oxidation that a single polish cannot reach. The sequence runs a cutting pad with a compound first, then a finishing pad with a polish to refine the haze that compounding leaves behind.
What two-step correction typically involves:
- A cutting compound paired with a wool or firm foam pad to remove moderate to deep swirls.
- A finishing polish paired with a soft foam pad to restore clarity and gloss.
- Multiple panel passes, since deeper defects often need more than one compounding cycle before the clearcoat levels out.
Pro Tip: Ask your detailer to show you a test spot before committing to a full two-stage job, since it confirms how the paint responds before the whole car is touched.
Two-step correction commonly achieves 80 to 95 percent improvement in visible defects, a meaningfully higher result than a one-step polish but one that takes longer and removes more clearcoat. Shops manage that added risk by working in smaller sections, checking paint thickness between passes, and choosing the least aggressive compound that still gets the job done. Expect two-stage work to cost more than a one-step polish and to take considerably longer per panel, since each section gets two full passes instead of one.
Stage 3 and multi-stage correction: the ceiling and its risks
Stage 3, or multi-stage correction, layers additional aggressive compounding passes on top of the standard two-step sequence to address severe oxidation, deep scratches, or paint that has gone years without proper care. It is the most time-intensive and highest-risk level of correction, and it does not guarantee a flawless result.
What multi-stage work typically includes:
- An initial heavy-cut pass with an aggressive compound to knock down severe defects.
- A secondary compounding pass to address what the first pass could not fully remove.
- A final refining polish to restore clarity and remove compounding haze.
Some scratches run deeper than the clearcoat can safely allow a technician to remove, and a responsible shop will stop short of chasing total removal if it means thinning the clearcoat past a safe margin. That stopping point is a judgment call, not a failure, and it protects the paint’s long-term durability over a cosmetic ideal.
Paint-safety checks are non-negotiable at this level. A paint thickness gauge measures how much clearcoat remains before any aggressive compounding begins, and a test spot on an inconspicuous panel confirms how the paint reacts to the chosen pad and compound combination. Heat buildup from extended machine work is another real risk, since it can soften or burn through clearcoat on thin or previously repainted panels. Technicians who skip these checks are gambling with a car’s finish, especially on repainted panels where clearcoat thickness is often inconsistent.

How to choose the right correction stage for your car
Picking the right stage starts with an honest look at your paint’s condition, not a shop’s menu of package names. Three factors drive the decision: defect type, clearcoat thickness, and whether the car has been repainted or previously corrected.
A short assessment checklist before booking:
- Inspect the paint in direct sunlight to see swirls, scratches, and haze that indoor lighting hides.
- Ask whether any panels have been repainted, since repainted clearcoat often measures thinner and limits how aggressive correction can be.
- Request a paint thickness reading as part of the initial inspection, not as an upsell afterward.
Shops and professional detailers consistently recommend a documented test spot and paint-thickness verification before quoting multi-stage work, since those checks reveal whether the paint can safely support heavier correction. A quote that skips this step is a red flag worth questioning.
Good questions to ask a detailer include how they measure success beyond “it’ll look great,” whether they document before-and-after results, and what their plan is if a panel’s clearcoat measures thinner than expected. Acceptable answers include specifics: percent improvement ranges, panel-by-panel time estimates, and a willingness to show you a test spot before committing to the full vehicle. Vague answers, rushed estimates, or a refusal to discuss clearcoat thickness are signs to keep shopping.
Preparing your car and protecting the results afterward
Correction only works as well as the preparation behind it, and the results only last as long as the protection applied afterward. Both ends of the process matter as much as the correction itself.
Before any machine touches the paint, a shop should run through:
- A thorough wash to remove loose dirt and surface grime.
- A clay bar treatment to pull embedded contaminants out of the clearcoat.
- An iron remover application to dissolve bonded brake dust and rail dust before polishing begins.
Pro Tip: Skipping decontamination before correction is one of the most common ways a well-intentioned polish job ends up adding scratches instead of removing them.
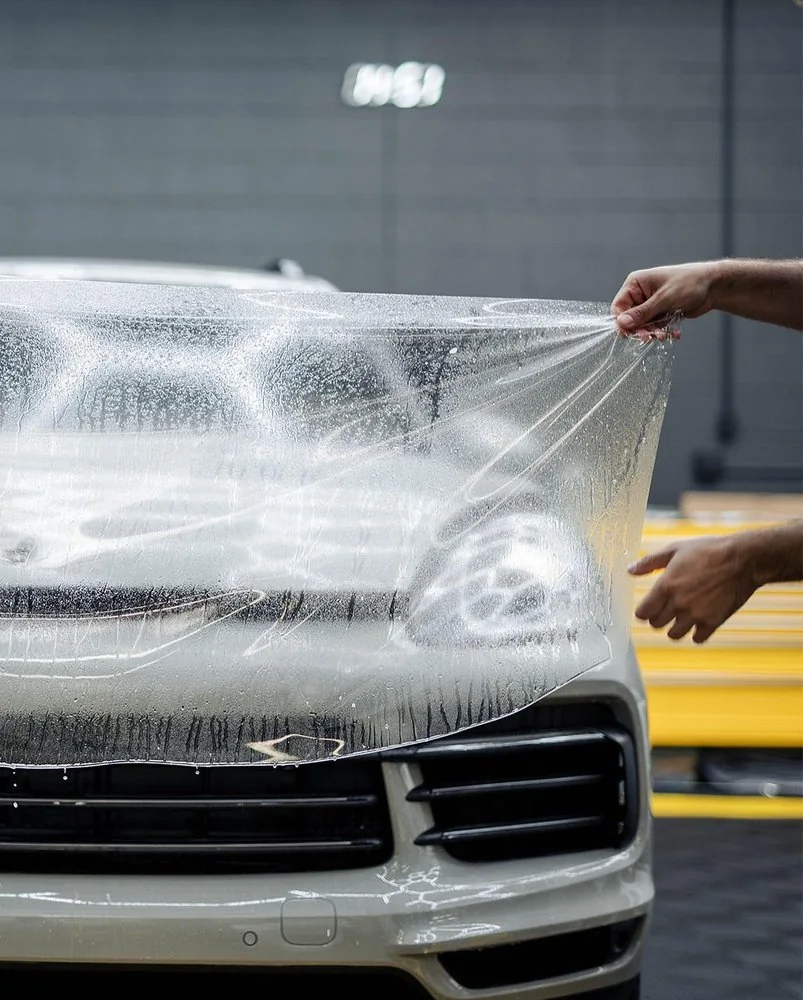
Once correction is complete, pairing it with a ceramic coating or paint protection film preserves the work and makes future maintenance easier, since both create a sacrificial layer that absorbs minor marring instead of the clearcoat itself. Regular maintenance washes using proper technique, along with routine PPF care, keep the corrected finish looking sharp for years rather than months. Skipping protection after a correction means the same swirls and oxidation will likely return within a season or two of normal driving and washing.
What a professional inspection and correction looks like
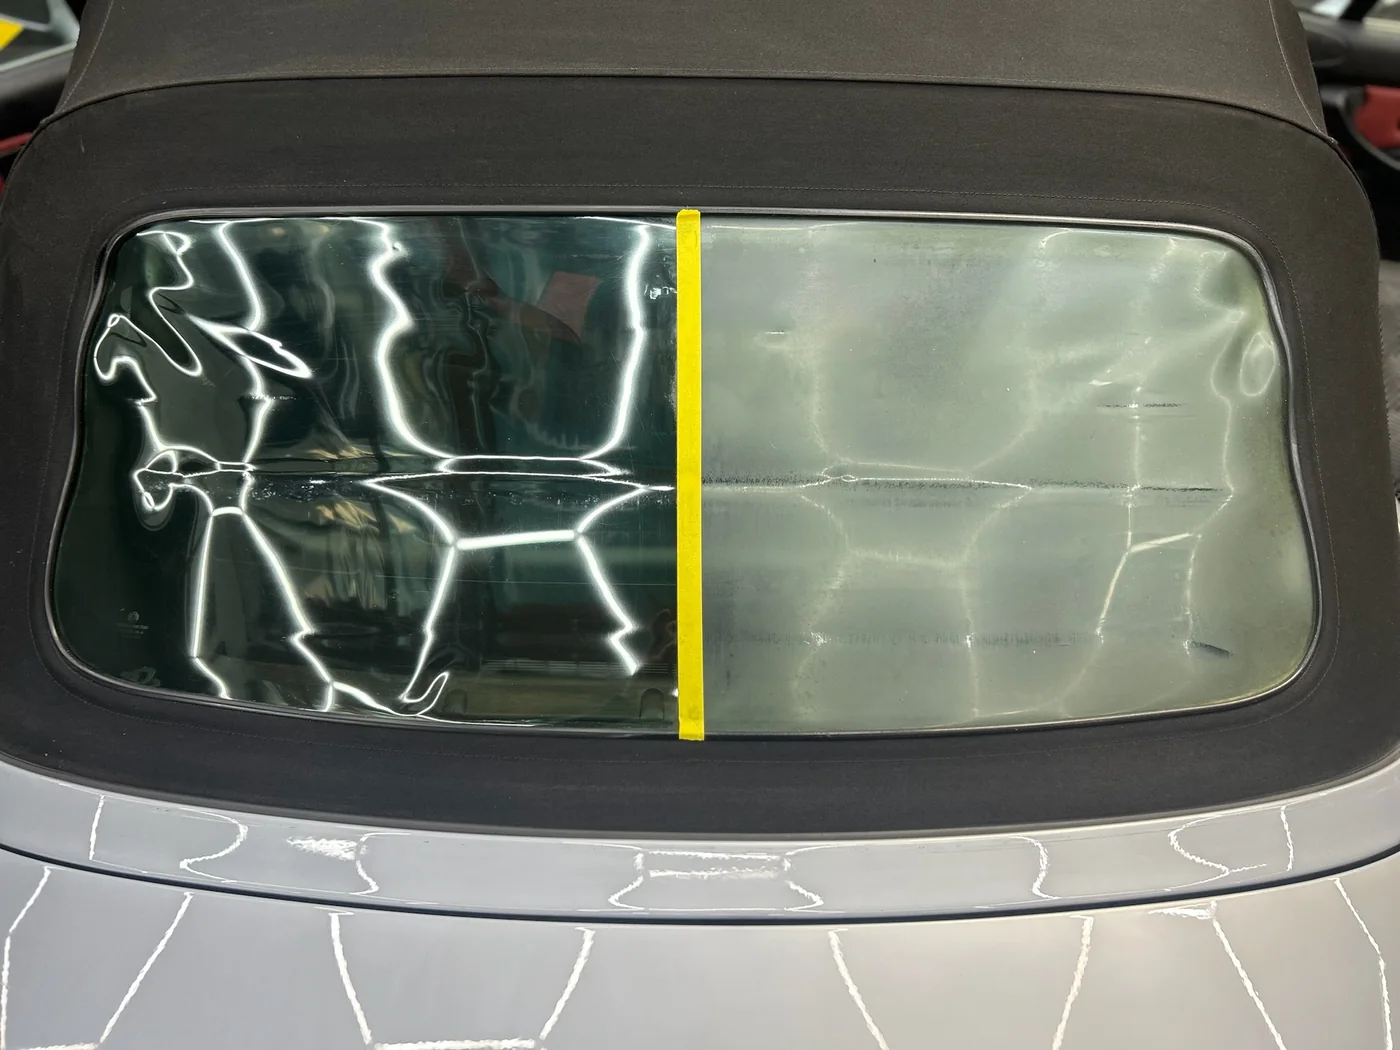
When inspecting a car for paint correction, the process starts with 50/50 before-and-after photos taken under controlled lighting, since direct comparison is the clearest way to show what a given stage will actually accomplish. Paint thickness measurements are taken across every panel and a test spot is run before committing to a full correction plan, which helps confirm how a specific car’s clearcoat will respond before any aggressive compounding begins.

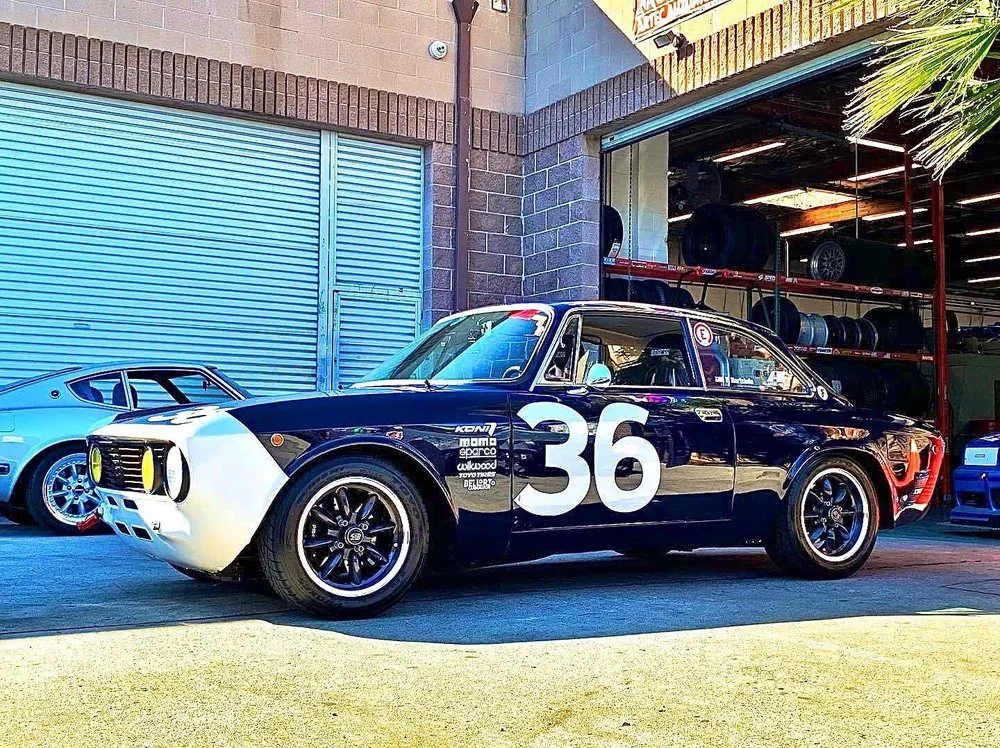
For exotic, classic, or low-production European cars, correction depth is weighed against long-term durability rather than chasing a flawless finish at any cost. A documented, transparent estimate accompanies every inspection, so you know exactly what stage your car needs and why before any work starts.
Balancing perfection, originality, and cost on a collector car
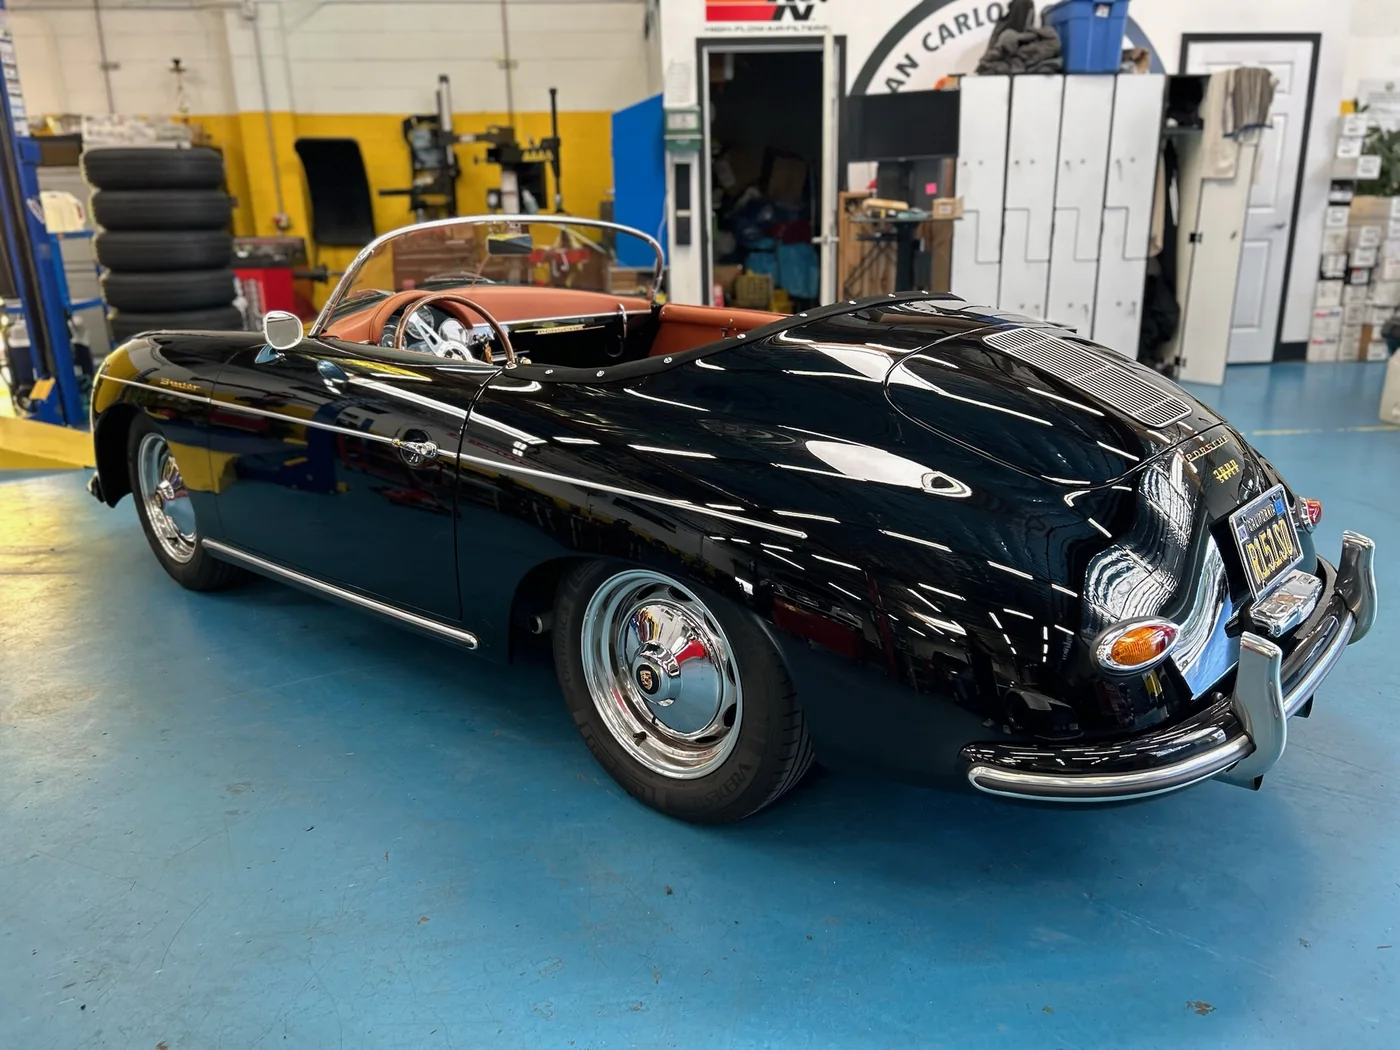
Collector and exotic cars raise a question daily drivers rarely face: how much correction is actually worth pursuing? A show car heading to a concours event justifies aggressive, multi-stage work and the clearcoat trade-off that comes with it. A classic driven occasionally often benefits more from a careful stage 1 polish that preserves original paint and clearcoat thickness for the long run. Originality has real value on collector cars, and chasing a flawless finish can quietly erode it.
— Artec
Protecting your paint after correction with Artec Automotive
Correction is only half the equation, and we built our detailing services around finishing the job properly rather than handing back a car that will swirl again in a month. Our Bronze, Silver, and Gold detailing packages cover correction work matched to your paint’s actual condition, and we pair that work with ceramic coating or paint protection film when you want the results to hold up for years instead of months.

What to expect when you book with us:
- A full paint inspection with thickness measurements and a test spot before any quote is finalized.
- Documented 50/50 photos showing the actual improvement on your specific car.
- A clear, itemized estimate covering correction, protection, and any prep work your paint needs.
If you are weighing correction against protection, bring your car in for an inspection and we will walk you through exactly which stage fits your paint and your goals. Visit our car detailing page to see current packages and schedule a visit.
FAQ
What’s the difference between stage 1 and stage 2 paint correction?
Stage 1 uses a single polishing pass to remove light swirls and haze, while stage 2 adds a compounding pass beforehand to cut through deeper scratches and oxidation. Stage 2 typically delivers a more complete result but takes longer and removes more clearcoat in the process.
Is stage 3 paint correction good?
Stage 3 is worthwhile for cars with severe oxidation or years of neglected paint, but it is not automatically “better” for every car since it removes the most clearcoat and carries the highest risk. A responsible detailer will only recommend it after confirming paint thickness supports the additional passes.
How long should a stage 1 paint correction take?
A one-step polish on a small to mid-size car commonly takes a few hours per vehicle, though exact timing depends on paint hardness, defect density, and panel count. Larger vehicles or more stubborn swirling can extend that window noticeably.
What is a 3-stage paint correction?
A 3-stage correction layers an initial heavy-cut compounding pass, a secondary compounding pass, and a final refining polish to address severe clearcoat defects. It is reserved for paint that a standard two-step process cannot adequately correct, and it always includes paint thickness checks before the aggressive passes begin.