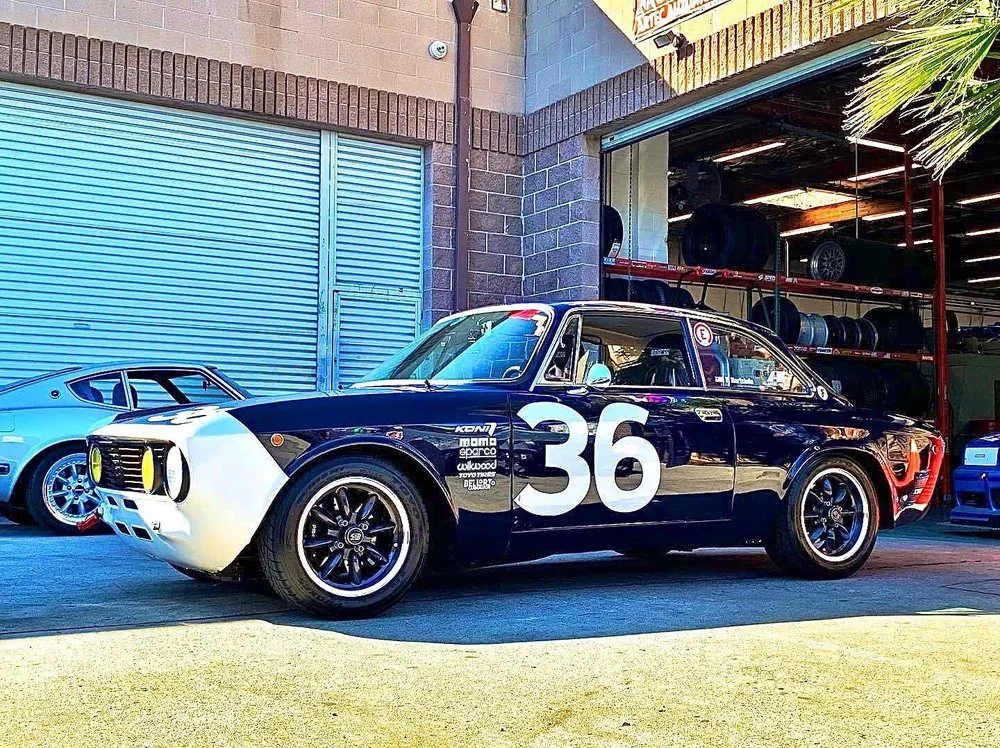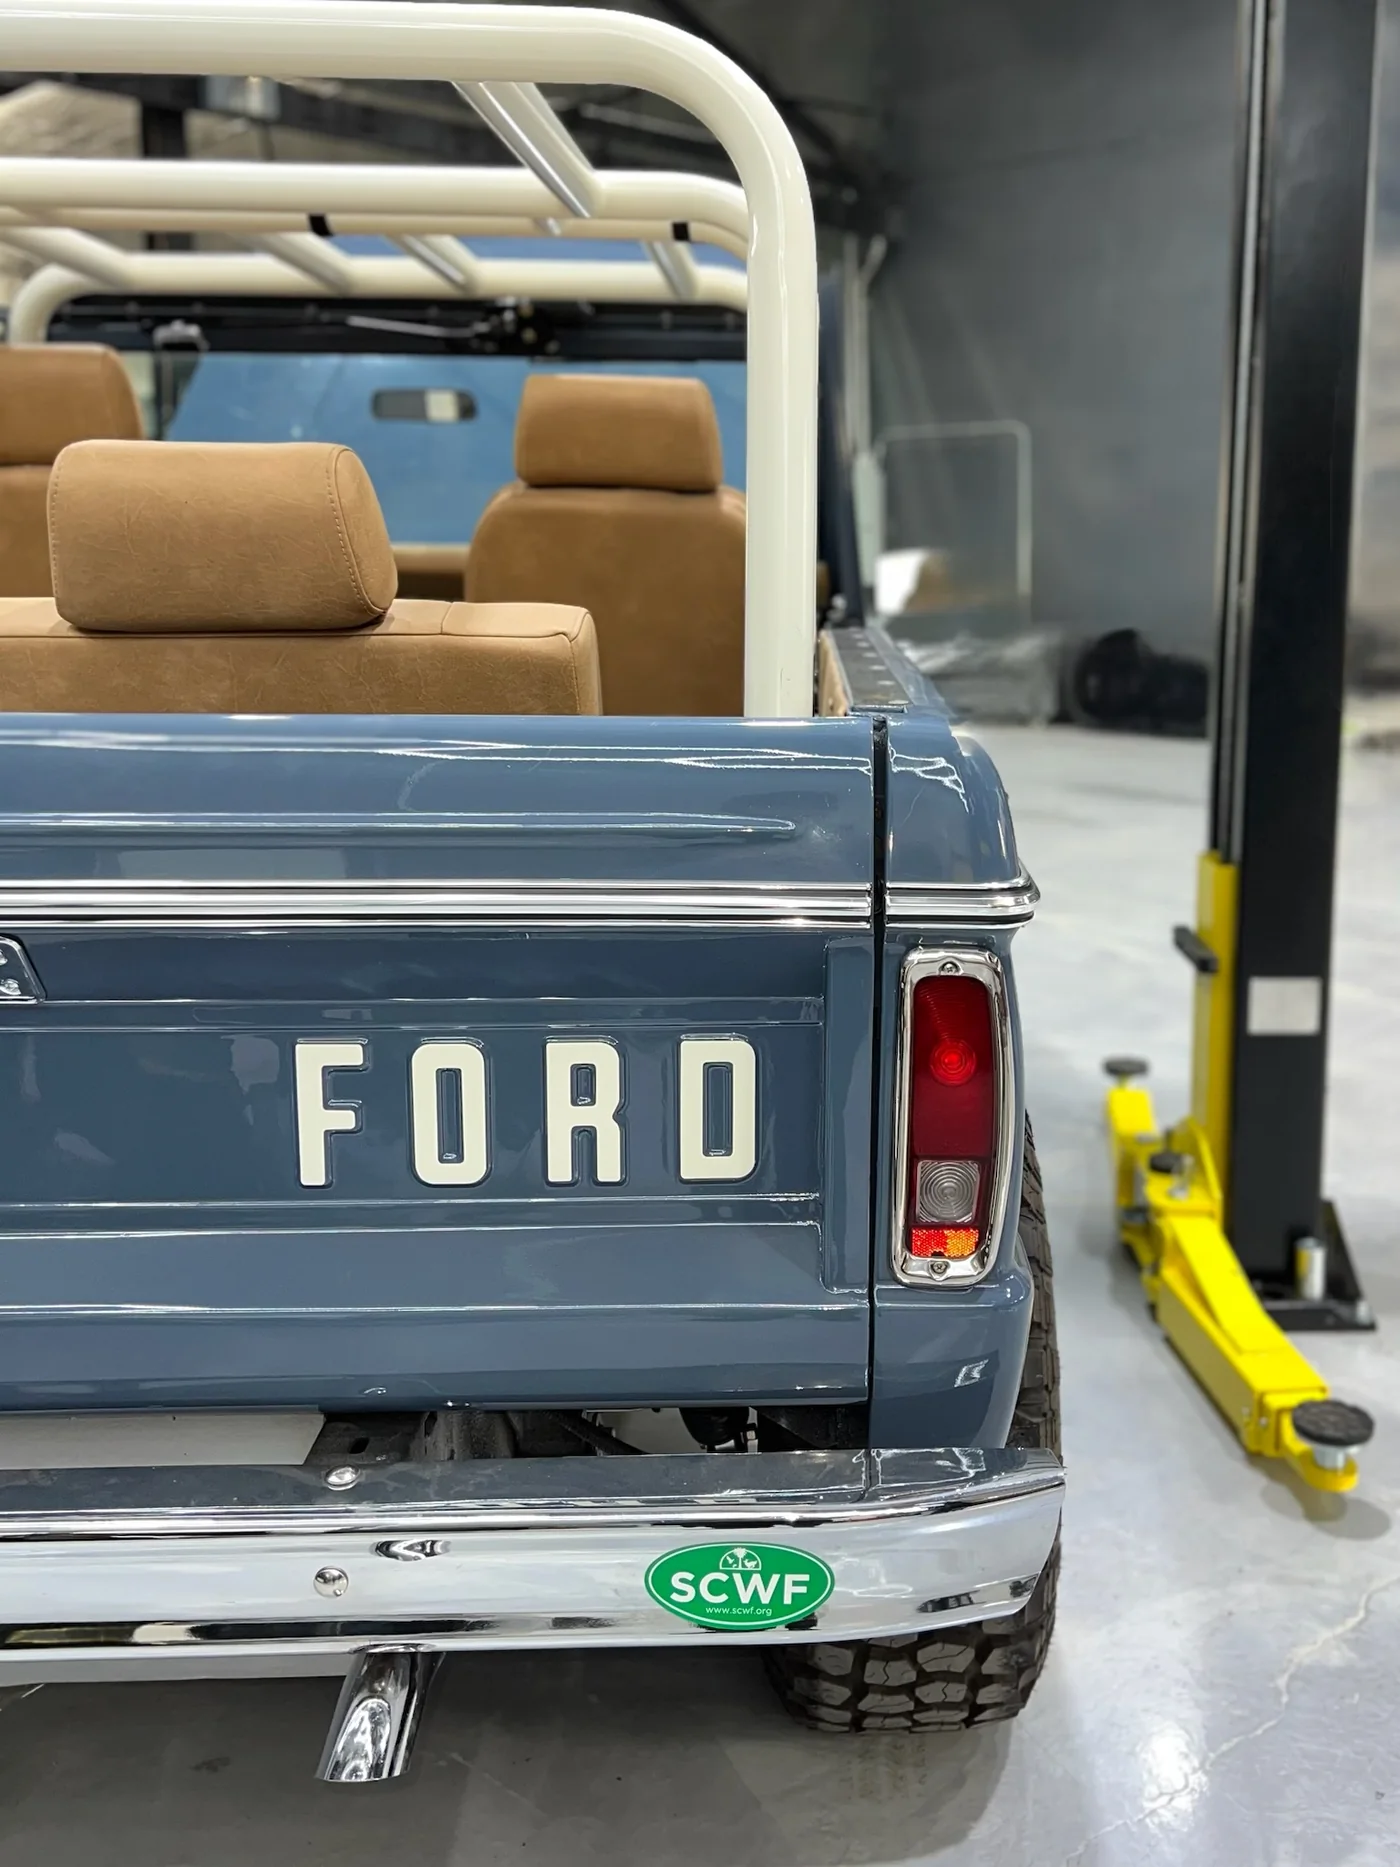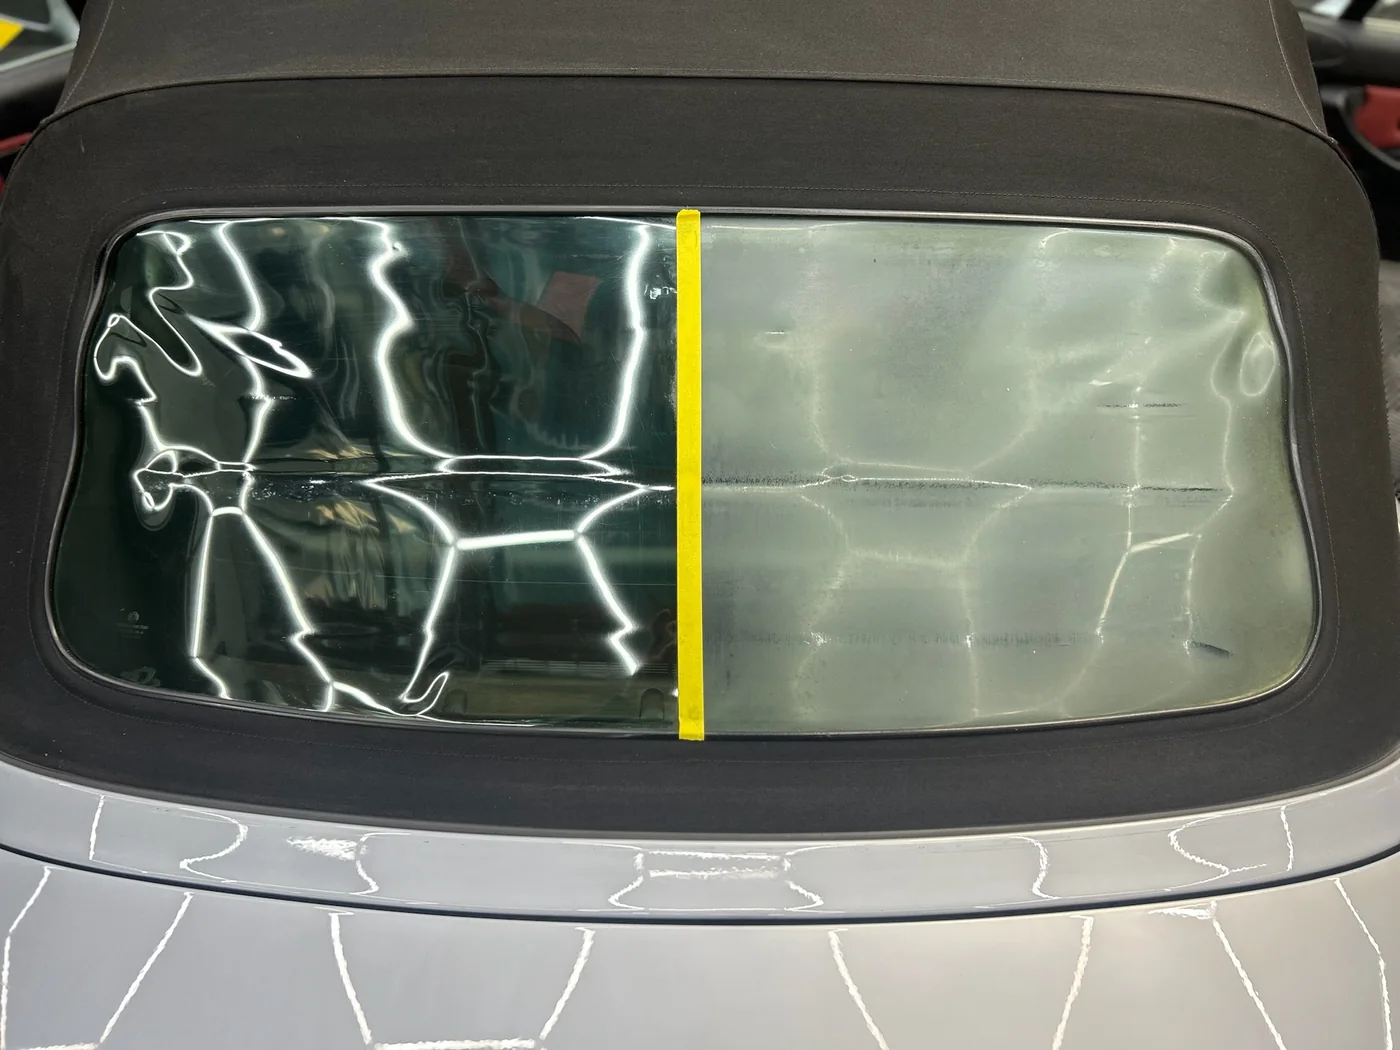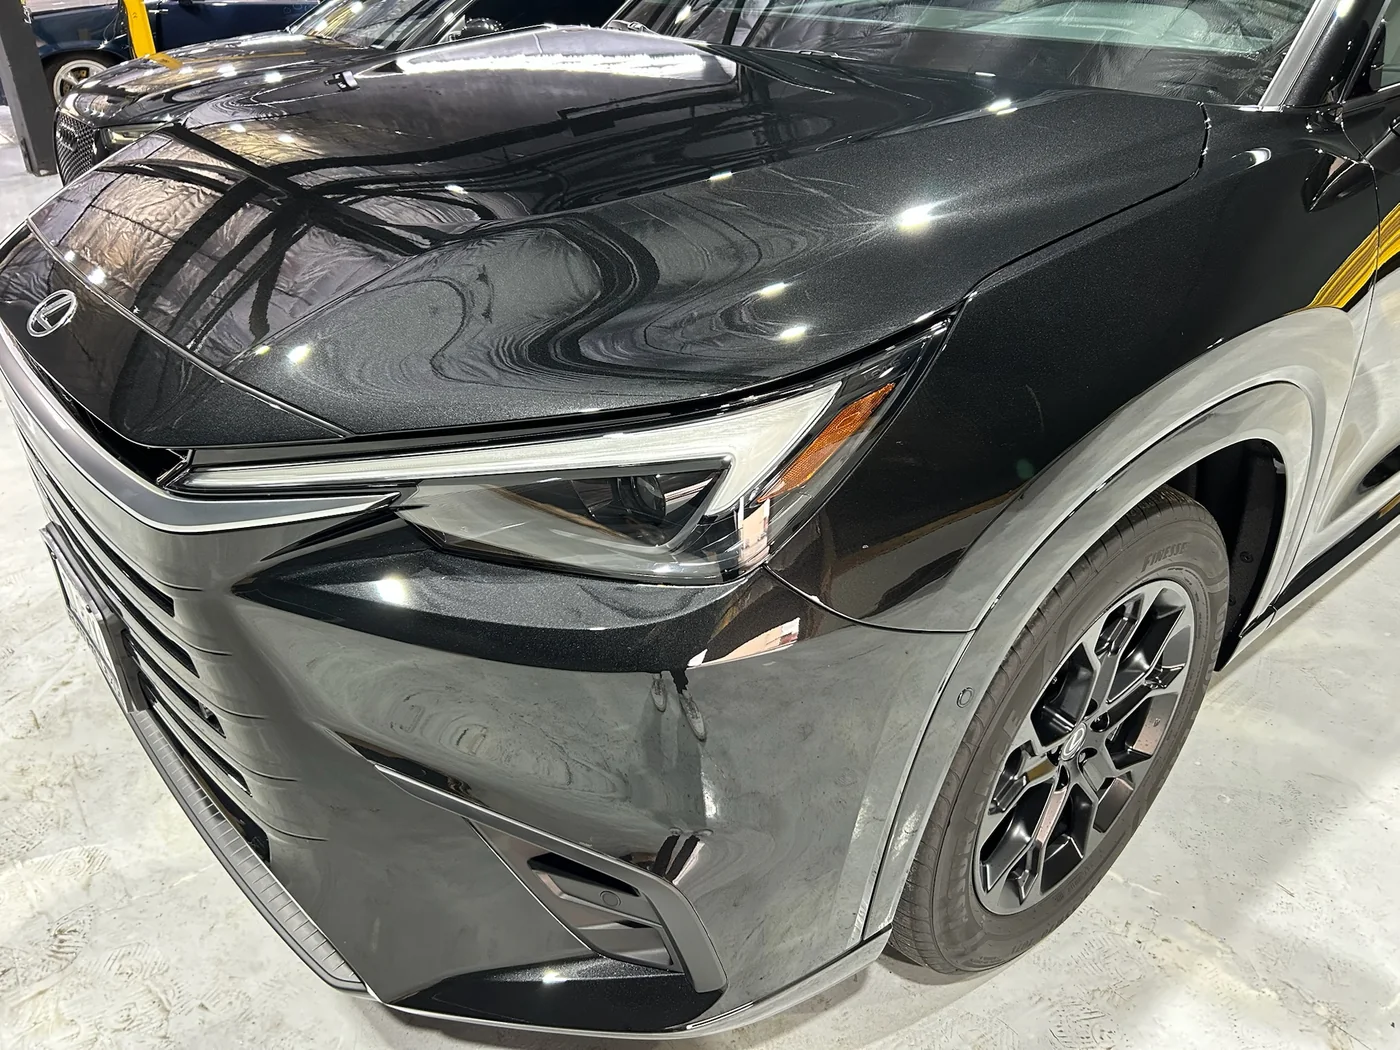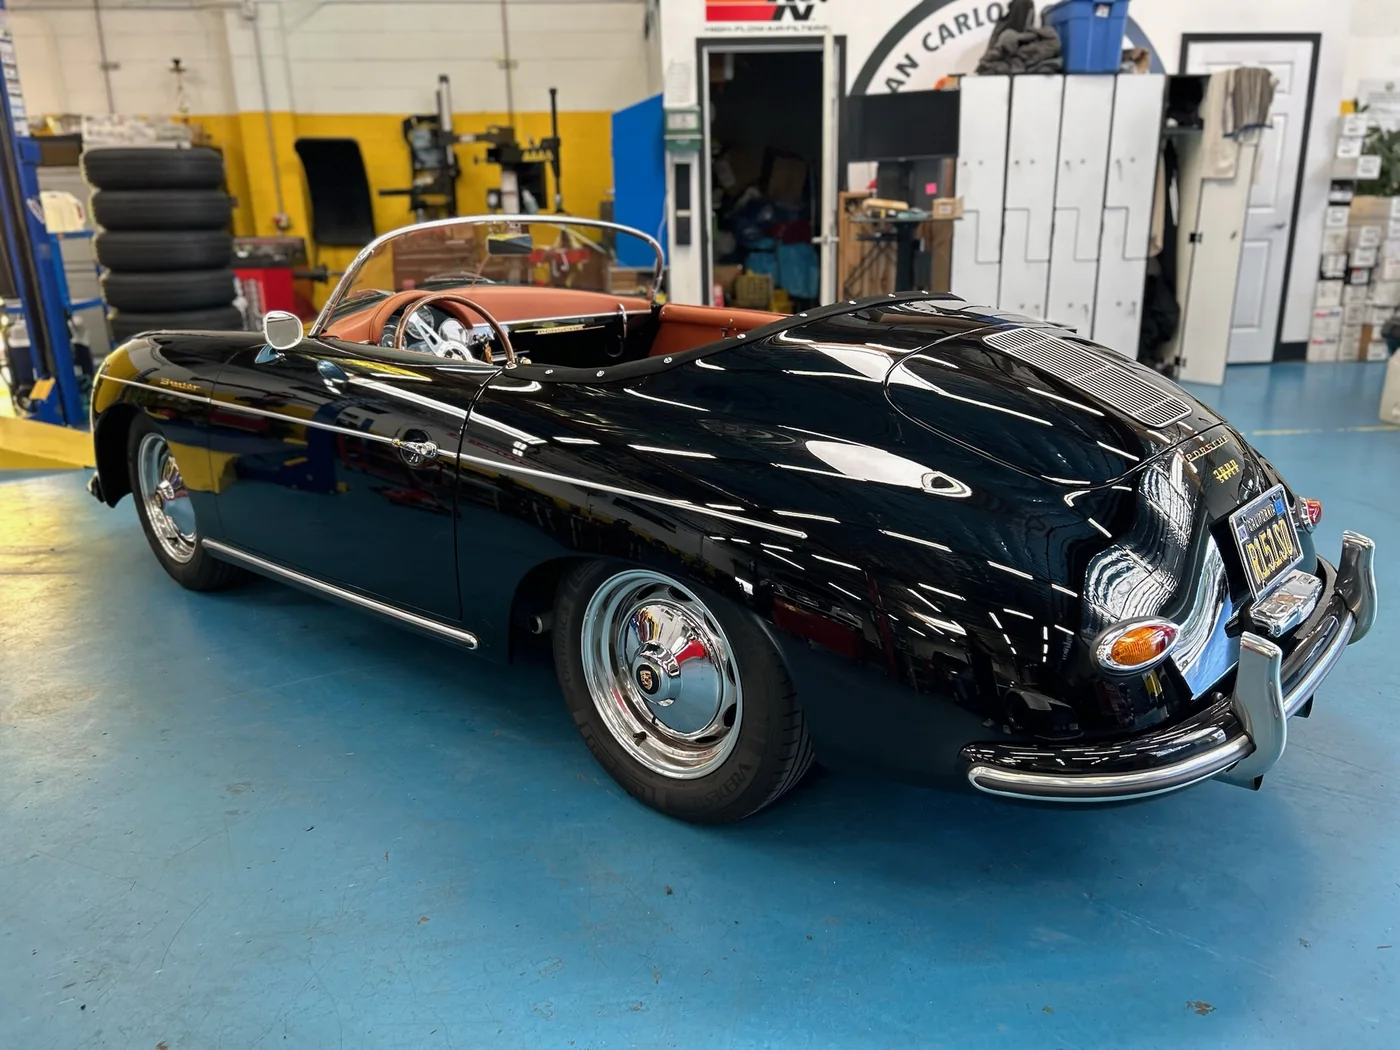

Preserve Classic Single Stage Paint With a 12–24 Hour Oil Glaze
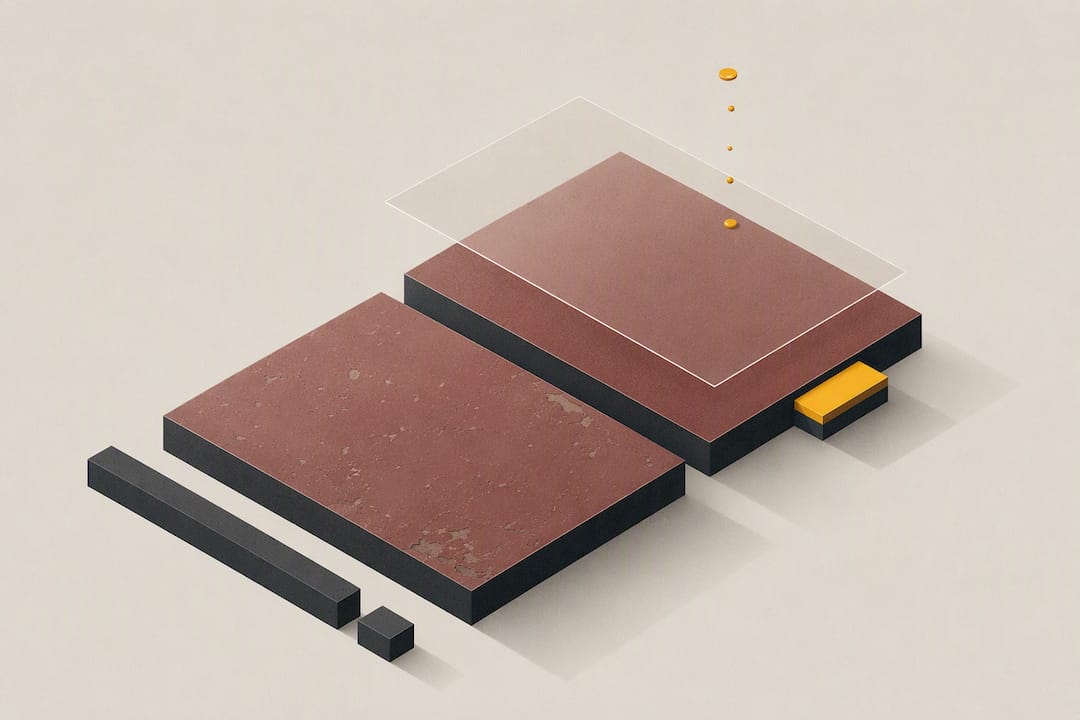
Restoring the original paint on a classic car is usually possible, even on decades-old single-stage finishes covered in oxidation. The catch is sequence: hydrate the paint before you touch a polisher, since evaporated oils have left the pigment brittle and thin. A conservative test spot and a slow pad-and-polish progression keep you from burning through original color. If the paint is already flaking or worn to primer, stop and call a specialist.
TL;DR:
- Proper assessment of paint condition, including sunlight and LED inspection, is crucial to determine whether correction or stripping is necessary.
- Hydrating the brittle, oxidized paint with oil-glazing for 12 to 24 hours is essential before any polishing to prevent removal of original pigment.
- Using a dual-action polisher with gentle methods and documenting every step minimizes the risk of damaging the thin, aged paint.
- Protecting the finish with appropriate sealants or ceramic coatings helps preserve the restored paint without trapping contaminants.
- Severe issues like flaking, primer exposure, or corrosion require professional restoration with controlled stripping for long-term integrity.
Table of Contents
- Essential Tools and Supplies for Classic Car Paint Restoration
- How Do You Know How Aggressive to Be With Classic Car Paint Repair?
- Hydrate First: The Oil-Feeding Method for Single-Stage Paint
- Progressive Machine Polishing: Test Spots and Safe Technique
- Protecting and Maintaining Your Restored Finish
- When to Call a Pro: Artec Automotive’s Thresholds for Professional Restoration
- Getting Original Paint Color Right
- Common Paint Defects on Classic Cars and What They Mean
- Long-Term Maintenance for a Restored Classic Finish
- Safety and Environmental Precautions During Paint Restoration
- What Actually Matters in Classic Paint Restoration
- Artec Automotive: A Direct Option for Hands-Off Restoration
- Sources
- FAQ
Essential Tools and Supplies for Classic Car Paint Restoration
Working on 40 or 50-year-old single-stage paint punishes the wrong tools fast. Before you touch the car, assemble a kit built for gentleness, not speed.
- Wash kit: two-bucket system, pH-neutral shampoo, grit guard, and separate foam wash mitts for paint and wheels.
- Decontamination: an iron remover that changes color on contact with ferrous fallout, plus a clay bar or clay mitt with slick lubricant.
- Hydration: a heavy-oil glaze, the kind trade detailers have relied on for decades to feed dried-out pigment before any restoration correction begins.
- Machine correction: a dual-action polisher, a set of foam pads from cutting to finishing grade, a light abrasive compound, a finishing polish, and a stack of clean microfiber towels.
- Inspection: a high-CRI LED inspection lamp, and a paint thickness gauge if you can get one.
Skip any of these and you’re improvising on paint that can’t afford a mistake.
How Do You Know How Aggressive to Be With Classic Car Paint Repair?
Assessment decides everything that follows. Get this wrong and you either under-correct a car that could look better, or you sand through sixty years of factory pigment chasing perfection.
- Inspect in direct sunlight first, then under an LED lamp. Sunlight reveals overall haze and fading; a raking LED beam exposes swirls, scratches, and uneven oxidation that daylight hides.
- Run your fingers over suspicious areas, especially edges and high points. If pigment feels chalky and lifts onto your fingertip, or if you see any flaking, stop working that panel by hand or machine.
- Use a paint thickness gauge if you own one. Without a gauge, treat every panel as unknown and let a test spot do the talking.
- Pick one inconspicuous section, roughly two feet square, and write down what you use. Pad, polish, number of passes, machine speed. This log is what keeps a “quick pass” from turning into a full-panel gamble.
- Decide your ceiling before you scale up. Some cars only need to look presentable, not showroom-flat, and accepting that limit protects paint that full correction would compromise.
If the test spot shows even faint white haze at the edges of your working area, back off the abrasive level before moving to the next panel.
Hydrate First: The Oil-Feeding Method for Single-Stage Paint
Single-stage paint has no clear coat protecting it, which means the oils that once kept the pigment flexible have been baking out under sun and weather for decades. What’s left is a dry, brittle layer that cracks and burns through far more easily than modern basecoat/clearcoat systems. Polishing that paint before rehydrating it is how well-meaning owners strip color down to primer in an afternoon.
The fix is a technique longtime detailers call oil-feeding. You apply a heavy-oil glaze by hand, working it into the paint in sections, then let it sit for 12 to 24 hours before wiping it off. Severely oxidized panels often need two or three cycles of this before the paint responds. You’ll know it’s working when chalky, flat color starts pulling back some depth and gloss just from the glaze sitting on the surface, before any machine work happens.
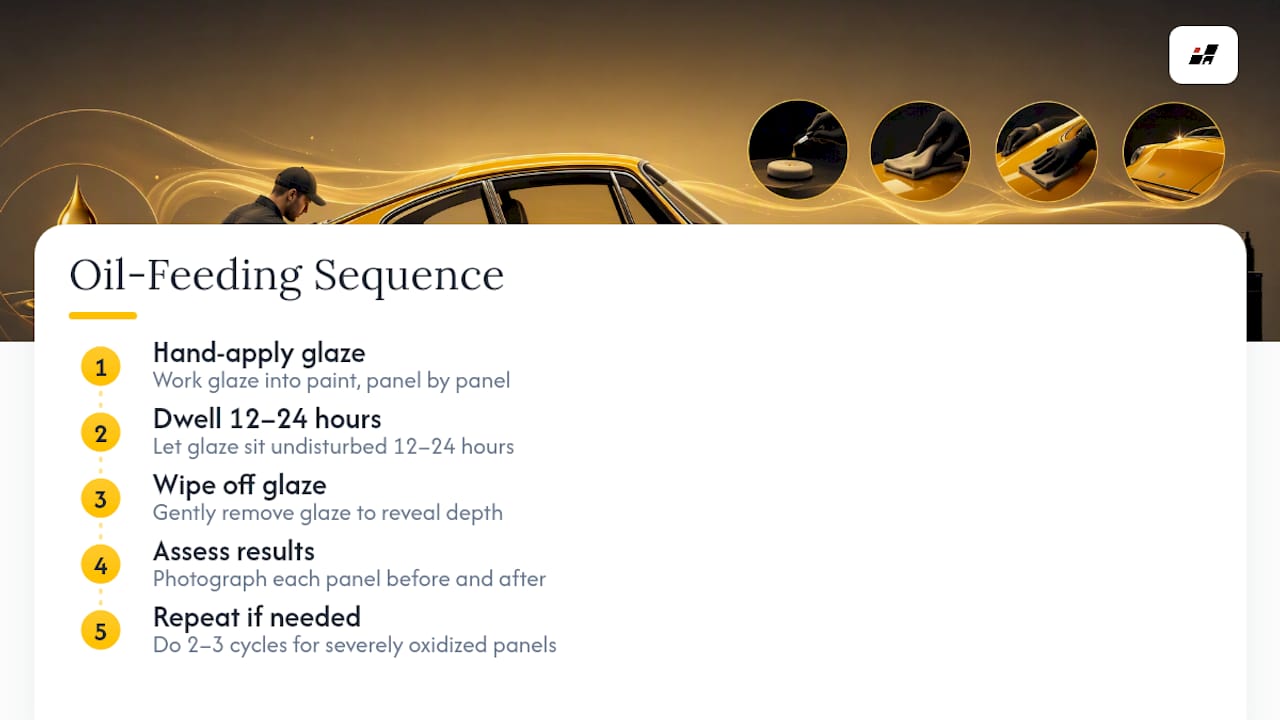
Stick to true oil-based glazes and avoid anything with solvents strong enough to strip old finishes. Solvent-heavy “restorers” can lift what little original pigment binder is left.
Pro Tip: Photograph each panel before and after every glaze cycle. Oxidation recovery is gradual, and side-by-side photos catch improvement your eyes miss in the moment.
Progressive Machine Polishing: Test Spots and Safe Technique
Once paint has rehydrated and regained some flexibility, machine correction can begin, but the operating word is progressive. You’re removing the thinnest possible layer of dead pigment to expose healthy color underneath, not chasing a mirror finish in one pass.
Start every panel with the documented test spot from your assessment phase: note the pad, the polish, the machine speed, and the pressure you used. That record is what keeps you from repeating a mistake across five more panels.
A few rules keep the process safe on old single-stage paint:
- Begin with a medium-cut foam pad and a light abrasive compound, never a heavy cutting compound as your first move.
- Choose a dual-action polisher over a rotary buffer whenever possible. A DA generates less heat and spreads pressure more evenly, which matters enormously on paint this thin.
- Work in small sections, roughly two feet by two feet, and inspect under your LED lamp between passes rather than after the whole panel is done.
- Switch from compound to a finishing polish as soon as color and clarity return. There’s no reward for continuing to cut once the goal is met.
- Stop entirely if you see any color transfer onto your pad or towel that looks like actual pigment rather than surface haze.
The instinct to keep going for “just a little more shine” is the single most common way restorers ruin vintage pigment permanently, a pattern experienced detailers flag as the most frequent irreparable mistake in this kind of work. The least aggressive combination that gets you an acceptable result is always the right one to stop at, even if a slightly glossier finish feels tempting one step further.
Skipping decontamination before this stage causes its own damage. Bonded iron fallout and embedded grit act like sandpaper under a polishing pad, so the iron remover and clay steps from your prep work aren’t optional extras. They’re what keeps correction from turning into deeper marring.
Protecting and Maintaining Your Restored Finish
Protection on single-stage paint is a layered decision, not a single product choice. Right after correction, follow up with a light protective glaze to lock in the gloss you just recovered, then add a durable synthetic sealant or a traditional carnauba layer on top for weather resistance.
Ceramic coatings deserve a more careful look on vintage paint than on modern clear coats. A quality ceramic can extend gloss and add real protection, but it also locks in whatever the paint looks like at that moment, and some coatings interact differently with single-stage systems than they do with clear-coated paint, particularly around breathability and how often the coating needs refreshing. If you’re not confident in that trade-off, a synthetic sealant is the safer default.
Routine care matters more on old paint than new:
- Hand wash only, with a pH-neutral shampoo. Skip automatic car washes entirely; their brushes and high-alkaline soap are hard on any finish and especially rough on single-stage pigment.
- Reapply a booster glaze every few months to keep the paint fed, since the oil-feeding you did during restoration isn’t permanent.
- Watch for renewed dullness or dryness between washes. That’s the paint telling you it needs another hydration cycle, not a heavier polish.
Contrary to shortcuts you’ll see online, WD-40 has no place in this routine. It leaves an oily film but lacks the chemistry needed for real paint correction, and relying on it just masks oxidation temporarily instead of addressing it.
When to Call a Pro: Artec Automotive’s Thresholds for Professional Restoration
Some damage is beyond what glaze cycles and careful polishing can fix. If pigment is flaking or powdering off the panel, if bare metal or primer is showing through, or if corrosion is working under the paint from beneath, DIY correction stops being an option.
Such cases are typically approached with controlled stripping, accurate color matching, and spray booth refinishing rather than surface-level correction. A qualified shop should give you a measured film-thickness target before work starts, not just a visual guess.
Before booking anywhere, ask a shop these questions:
- Will they provide a paint-thickness report before and after the work?
- What’s the exact scope of work, and what’s excluded?
- What’s the realistic turnaround estimate?
- What warranty, if any, covers the refinishing?
Getting Original Paint Color Right
Matching original color on a classic car is harder than picking a swatch, because factory paint codes from the 1950s through 1980s often varied slightly between production runs, and decades of UV exposure have shifted what’s left on the car. The starting point is finding your vehicle’s original factory color code, usually stamped on a build plate or door jamb tag, and cross-referencing it against archived formulas.
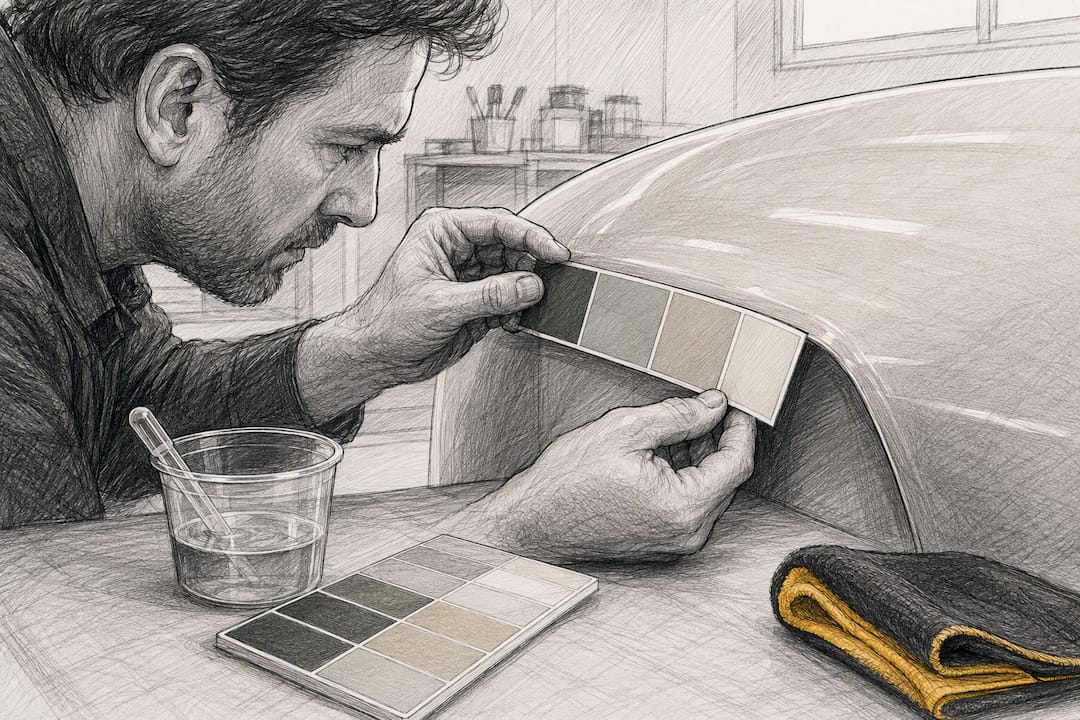
Specialty suppliers that maintain original factory color records can mix small-batch paint matched to those historic codes rather than a generic modern equivalent. This matters most on visible repairs, touch-ups, or blended panels, where even a slightly-off hue reads as obviously wrong next to original paint next to it.
Two complications come up constantly. First, faded original paint almost never matches the factory code exactly anymore, so a shop doing a partial repair often has to custom-blend a color that matches the car as it exists today, not as it left the factory. Second, some historic pigments used formulations that are restricted or reformulated now, which means the “match” is a modern equivalent tuned to look right rather than a chemically identical repeat of the original.
For a full respray, get the factory code confirmed before ordering paint. For a spot repair or blend, work with someone who can custom-tune the mix against your actual car, not just the code on paper. This is one area where the cost of getting it wrong, a visible color mismatch on an otherwise well-restored car, outweighs the cost of doing it right the first time.
Common Paint Defects on Classic Cars and What They Mean
Cracking, crazing, and peeling look similar at a glance but point to different underlying problems, and treating them the same way usually makes things worse.
Cracking typically shows up as a network of fine lines, often following the grain of a panel’s original brushwork or spray pattern. It’s usually a sign the paint has lost its flexibility entirely, brittle from age and UV exposure, and it tends to run through to the primer. Light cracking sometimes responds to careful hydration and polishing, but deep cracking usually needs the affected section stripped and repainted.
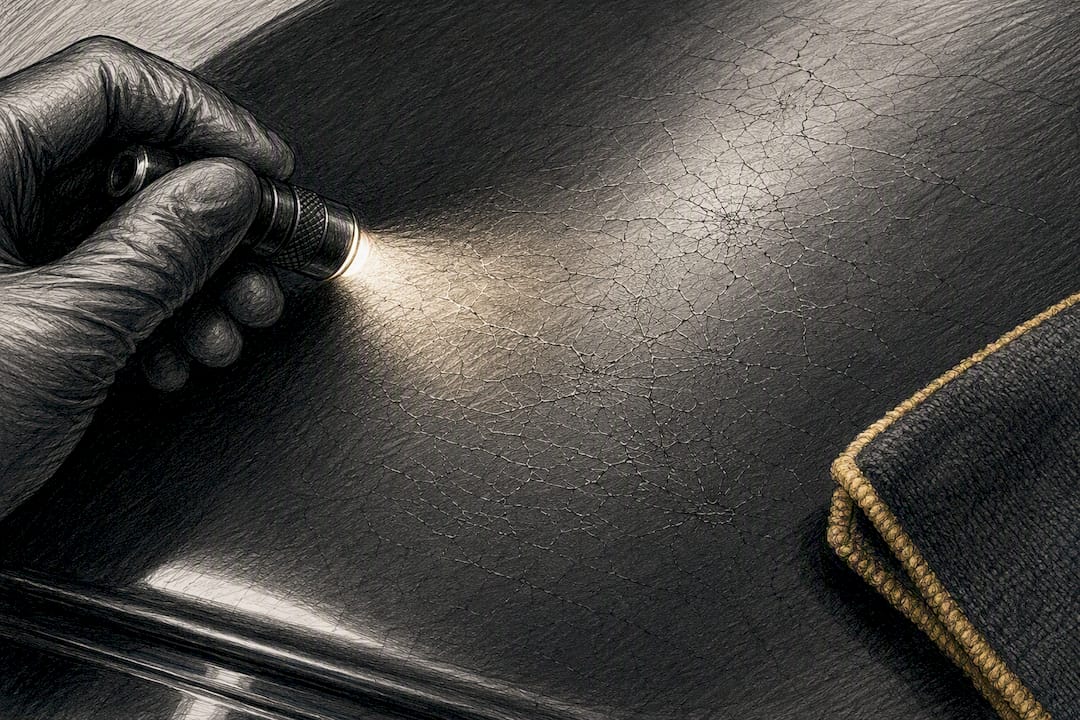
Crazing looks like a spiderweb of very fine surface cracks, often concentrated in one area rather than spread evenly across a panel. It commonly comes from an incompatible product applied at some point, a solvent-based cleaner or the wrong kind of wax reacting with old single-stage paint. Crazing is largely a surface-level issue in early stages, but once it penetrates deeper into the paint film, machine correction can’t remove it without going through to bare metal.
Peeling is the most serious of the three, and there’s no restoring around it. Peeling means the paint has lost adhesion to whatever’s underneath it, whether that’s primer, filler, or metal, and it’s often a sign of moisture intrusion or a poor repaint job done years earlier. Any peeling means that section needs to be stripped back to a sound layer and rebuilt, not glazed or polished.
The common thread across all three: identify which one you’re looking at before you do anything, because a hydration cycle that helps mild cracking does nothing for crazing, and neither one touches a peeling panel.
Long-Term Maintenance for a Restored Classic Finish
The work isn’t over once the paint looks right. Restored single-stage paint keeps losing oils over time the same way it did before restoration, just more slowly if you maintain it properly.
Build a simple seasonal rhythm rather than reacting only when the paint looks dull. A booster glaze every three to four months keeps oils replenished between full hydration cycles. Wash the car by hand every one to two weeks depending on how often it’s driven, always with a pH-neutral shampoo and the two-bucket method, since even one pass through an automatic wash can undo months of careful glaze work.
Storage conditions matter as much as washing habits. Indoor storage away from direct sun slows UV-driven oxidation dramatically compared to a car parked outside year-round. If the car lives outdoors even part-time, a breathable car cover protects the finish without trapping moisture against the paint the way a plastic tarp does.
Watch for early warning signs rather than waiting for obvious dullness. Paint that starts feeling slightly rough under a clean microfiber towel, even when it still looks glossy, is usually the first sign oils are depleting again. Catching that early means another light glaze cycle, not another full correction.
One detail owners often overlook: whatever protective layer you chose, sealant or ceramic, has a reapplication window. Sealants typically need renewal every few months, while ceramic coatings last longer but still require the right maintenance wash routine to avoid trapping contaminants against a finish that can’t tolerate aggressive correction a second time.
Safety and Environmental Precautions During Paint Restoration
Restoration chemicals aren’t as benign as a bottle of car shampoo suggests. Iron removers, in particular, contain active compounds that react on contact with ferrous particles, which is exactly what makes them effective and exactly why they need careful handling. Work in a ventilated space, wear nitrile gloves, and avoid letting these products dry on painted surfaces or trim longer than the label recommends.
Machine polishing throws fine compound residue and airborne dust, especially during the compounding stage. Safety glasses and a basic dust mask are worth the minor inconvenience, particularly if you’re working indoors in an enclosed garage.
Runoff is the environmental issue most DIY restorers overlook entirely. Wash water carrying soap, iron remover residue, and clay lubricant shouldn’t go straight into a storm drain, since many municipalities treat that runoff as regulated wastewater. Working over a permeable surface, or using a wash mat designed to capture runoff, keeps you on the right side of local water regulations and off the wrong side of contaminating a storm system.
Store leftover chemicals properly rather than leaving half-used bottles of solvent-based products in a hot garage, and dispose of used clay, contaminated towels, and empty chemical containers according to your local hazardous waste guidelines rather than the regular trash. None of this is complicated, but skipping it is how a paint restoration project turns into a bigger problem than the oxidation you started with.
What Actually Matters in Classic Paint Restoration
Most advice on restoring vintage paint focuses too heavily on the polishing step and not nearly enough on the decision to polish at all. The oil-feeding method that trade detailers have quietly relied on for years deserves more attention than it gets in mainstream detailing content, because it solves the actual problem: brittle, oil-starved pigment, not just surface haze.
The conventional wisdom oversells machine correction as the fix for everything. A DA polisher can’t put oil back into paint that’s been drying out since the Carter administration, and trying to correct dry paint mechanically is exactly how so many original finishes get thinned past the point of no return. Hydration first isn’t a nice-to-have step before the “real work.” It is the real work, and polishing is just the finishing touch once the paint can actually take it.
If there’s one thing readers should change about how they approach this, it’s patience with the glaze cycle. A 12 to 24 hour dwell feels slow when you want to see results, but rushing that step is where irreversible mistakes happen. Everything else, pad choice, polish grade, sealant type, matters far less than getting that first hydration cycle right.
— Artec
Artec Automotive: A Direct Option for Hands-Off Restoration
If the assessment process above turns up flaking pigment, exposed primer, or corrosion working under a panel, that’s the point where DIY correction stops being the right call. Specialized shops with experience in exotic, classic, and European vehicle restoration can help owners who want to hand off the risk entirely, covering the gap between a home glaze-and-polish routine and a full controlled refinish.
A shop visit goes smoother when you come prepared. Bring photos of every panel in current light, whatever history you have on prior repaints or repairs, and a clear list of problem areas you’ve already identified, along with what outcome you’re actually hoping for, whether that’s a driver-quality finish or a full concours-level respray. Artec Automotive’s team can then scope an assessment, walk through controlled refinishing options, and manage the project from paint matching through final inspection.
Before committing to any panel work, protect the parts around it too. If a windshield needs to come out during a restoration, a partner resource on classic car glass replacement covers what to watch for so moisture doesn’t undo the paint work around it.
Start by reaching out through Artec Automotive’s restoration services to schedule an assessment and get a straightforward read on what your car actually needs.
Sources
- Detailing tips for vintage single-stage paint — Hemmings
- Can you use WD-40 on car paint? — Jalopnik
- Rapidrepair
FAQ
Can Old Car Paint Be Restored?
Yes, in most cases. Oxidized single-stage paint responds well to hydration followed by conservative machine polishing, though paint that’s flaking or worn to primer needs professional stripping and refinishing instead.
How Much Does It Cost to Restore Car Paint?
Costs vary widely by scope: a corrective detailing job on oxidized paint is relatively inexpensive, while a full strip-and-spray restoration runs substantially higher and should be quoted directly by a shop after inspection.
How Much Does a Full Classic Car Restoration Cost?
A full restoration, covering bodywork, paint, and often mechanical work, costs significantly more than a paint-only correction because it involves controlled stripping, color matching, and spray booth refinishing rather than surface polishing alone.
Does WD-40 Remove Oxidation on Car Paint?
No. WD-40 lacks the abrasive and chemical properties needed for actual paint correction and only leaves an oily residue that temporarily masks dullness.
How Long Should You Let an Oil Glaze Sit Before Polishing?
Let a heavy-oil glaze dwell for 12 to 24 hours, and repeat the cycle on severely oxidized panels before starting any machine correction.