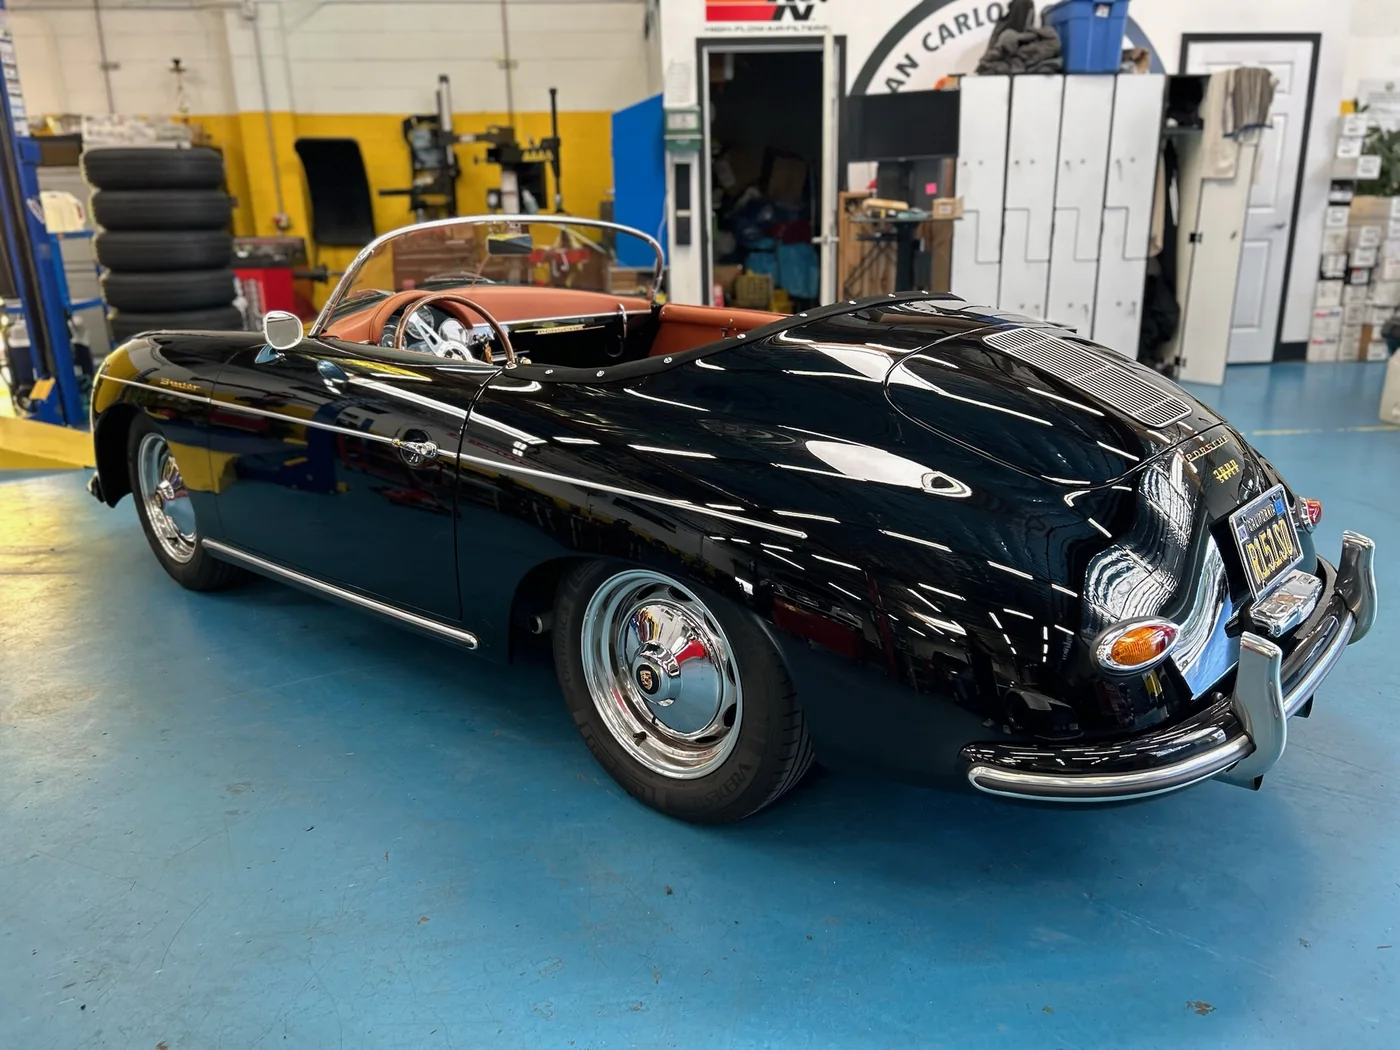


A carbon fiber front splitter that sits a few millimeters too low, a weave that does not align across adjacent panels, or a bumper refitted with uneven gaps can change the entire character of a premium build. Carbon fiber body kit installation is not simply an accessory install. It is a precision process that affects appearance, aerodynamics, ground clearance, factory systems, and long-term vehicle value.
For European performance cars, exotics, and collector vehicles, the right result should look intentional from every angle. That requires more than quality parts. It requires careful inspection, measured fitment, appropriate mounting methods, and a protection plan built around how the vehicle will actually be driven.
Why Carbon Fiber Fitment Comes First
Carbon fiber is prized for its strength-to-weight ratio, distinctive visual depth, and motorsport connection. It is also unforgiving. Unlike painted plastic, a carbon component cannot always be adjusted, filled, or refinished without risking the weave, resin clarity, or structural integrity that made it desirable in the first place.
Even well-made aftermarket components vary. A bumper, diffuser, side skirt, or hood may have been designed from an OEM scan, a mold, or a previous-generation vehicle. Small deviations in production, prior accident repairs, aftermarket suspension settings, and even factory panel tolerances can affect how a piece sits on the car.
A professional installation begins with a dry fit. The vehicle is inspected for previous repairs, non-factory hardware, panel alignment issues, and clearance concerns before any permanent mounting begins. The installer checks gap consistency, body lines, wheel travel, exhaust proximity, undertray interfaces, and access to service points. If the part requires modification, that decision should be deliberate and minimal, not an attempt to force a component into place.
The best carbon fiber body kit installation often looks deceptively simple when finished. That is because the challenging work happened before the final fastener was installed.
The Part Matters as Much as the Installation
Not all carbon fiber is created for the same purpose. A cosmetic overlay may be perfectly appropriate for an interior trim piece or mirror cap, but it should not be confused with a structural component designed to withstand high-speed airflow, heat, vibration, and road debris.
Pre-preg carbon fiber parts generally offer a more controlled fiber-to-resin ratio and consistent finish, while wet-layup parts can range widely in quality depending on the manufacturer and process. Neither label alone guarantees a good result. The more useful questions are whether the part was designed specifically for the vehicle, whether mounting points are reinforced, and whether the manufacturer has accounted for heat, load, and real-world road use.
For a front splitter or rear diffuser, the mounting strategy deserves special attention. Adhesive may help control vibration and create a clean interface, but it is not a substitute for properly placed mechanical fasteners when the part is exposed to aerodynamic load. Conversely, drilling into a bumper or underbody without understanding what sits behind it can create unnecessary damage or compromise factory mounting locations.
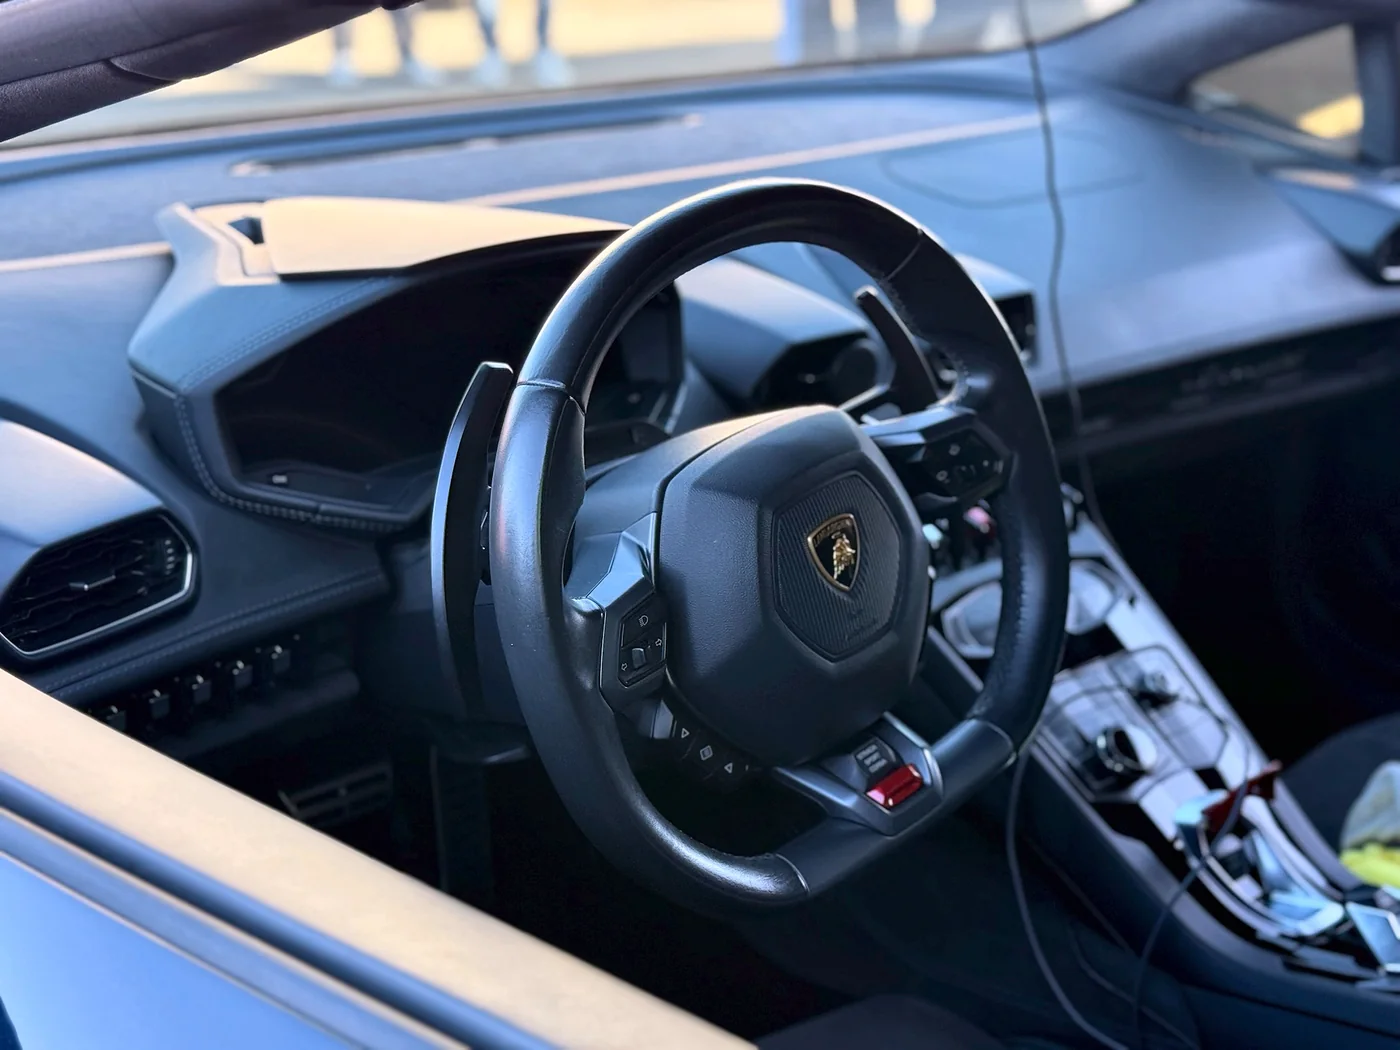
A tailored recommendation should also consider how the car is used. A weekend Porsche that sees canyon roads has different needs than a Lamborghini driven regularly through San Francisco parking structures, or a lowered BMW that travels over steep Peninsula driveways. The most aggressive option is not always the most rewarding one to own.
Preparing the Vehicle for a Precise Installation
A clean installation starts with a clean, stable vehicle. The work area must be free of contamination, and surfaces receiving adhesives need proper preparation. Old tape residue, road film, waxes, ceramic coating residue, and unseen damage can all reduce adhesion or prevent a component from sitting flush.
Removal is equally important. Modern bumpers, side skirts, and wheel liners may contain parking sensors, cameras, radar hardware, ambient temperature sensors, air ducts, and active grille shutters. On many luxury vehicles, a bumper removal is no longer just bodywork. It is an electronic service procedure that requires care during disassembly and reassembly.
Before final mounting, technicians should confirm that all clips, brackets, liners, and hardware remain usable. Reusing distorted clips or missing underbody fasteners is a common reason a kit develops movement, rattles, or uneven gaps later. Where hardware is visible, its finish and placement should match the level of the rest of the build.
Mounting Without Compromising the Car
There is no universal recipe for carbon fiber mounting. The correct approach depends on the component, the vehicle architecture, and whether the part is cosmetic or load-bearing. A well-executed install uses the least invasive method that still provides reliable retention and proper alignment.
For exterior pieces, technicians may combine factory mounting locations, discreet mechanical fasteners, automotive-grade tape, and panel-safe adhesive where appropriate. Each method has a role. Tape can isolate vibration and create a clean edge. Adhesive can support a bonded interface. Mechanical fastening provides security where airflow, impact risk, or weight demand it.
The key is avoiding shortcuts. Excess adhesive squeezing from an edge, exposed self-tapping screws in a highly visible area, and fasteners installed without corrosion protection all signal a rushed process. On premium vehicles, the underside matters too. A splitter may be out of sight when parked, but its installation quality becomes obvious the first time it contacts a driveway or meets sustained highway speeds.
Clearance must be evaluated with the suspension loaded, not only while the car is lifted. Front lift systems, adjustable coilovers, larger wheels, and tire changes can all alter the relationship between a body kit and the road. A component that clears in the shop may still contact under braking, during steering lock, or with passengers onboard.
Aerodynamics Need Realistic Expectations
Carbon fiber alone does not make a part aerodynamic. Its design, angle, placement, and integration with the rest of the vehicle determine whether it directs air effectively or primarily changes appearance. A front splitter and rear wing should be considered together when performance is the objective, particularly on a vehicle driven at track speeds.
For most street-focused builds, the priority is secure fitment, visual balance, cooling airflow, and practical clearance. A tasteful kit that can be confidently driven is usually more valuable than an extreme setup that becomes fragile, noisy, or difficult to use.
Protecting Carbon Fiber From the Bay Area Environment
The clear resin over carbon fiber can be vulnerable to UV exposure, rock impacts, road debris, and abrasive washing. A premium gloss finish can lose depth over time if it is left unprotected, while exposed leading edges on splitters, side skirts, and diffusers face constant punishment from gravel and debris.
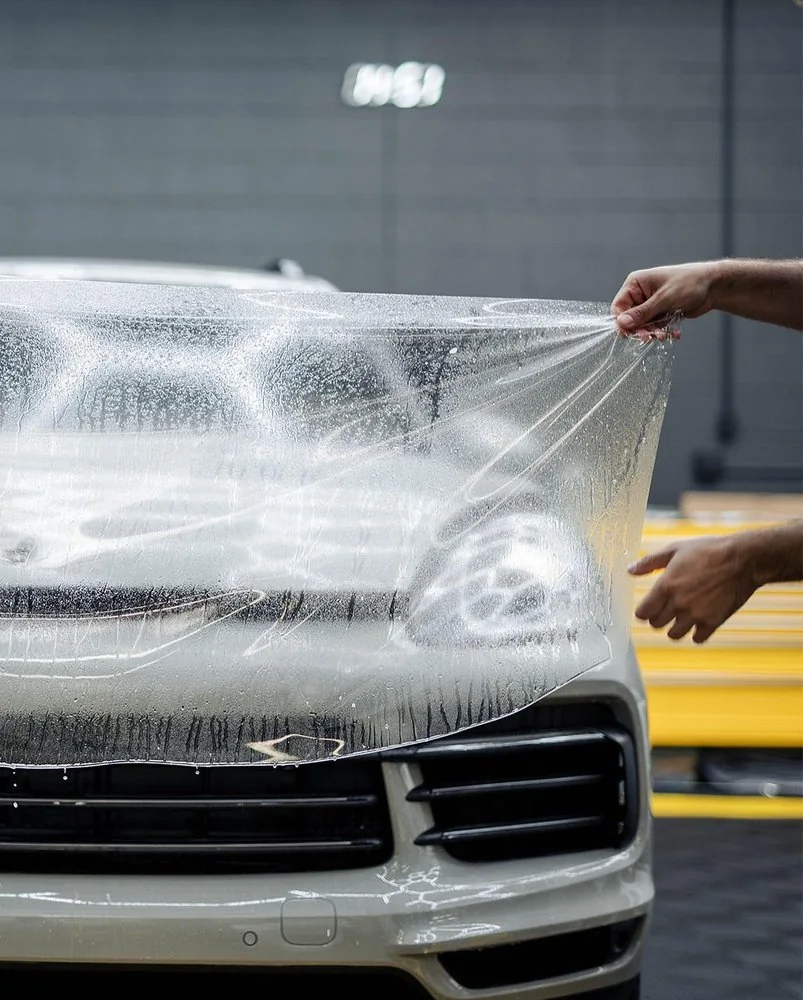
Paint protection film is often the most practical solution for vulnerable carbon components. A high-quality film can help defend against chips and light surface damage without obscuring the weave. For vehicles receiving broader protection, integrating the kit into a full-front or full-vehicle paint protection film plan creates a more cohesive result.
Ceramic or graphene coatings can add hydrophobic behavior and make routine cleaning easier, but they are not impact protection. They work well as part of a layered strategy, especially on gloss carbon surfaces that benefit from easier maintenance and improved resistance to environmental contamination. Matte carbon requires product selection and installation techniques that preserve its intended sheen.
This is also the moment to think beyond the carbon itself. Once a bumper is removed, it may be the ideal time to address paint correction, protective film around exposed edges, brake duct cleaning, sensor inspection, or other details that are harder to reach after reassembly. At Artec Automotive, this integrated approach allows protection, customization, and specialty care to support one cohesive standard rather than competing as separate projects.
Final Checks Are Not Optional
The last stage of installation is where a professional shop separates a finished build from a merely attached part. Panel gaps should be checked in natural light and under shop lighting. Fasteners need verification after adhesives have cured. Sensors, cameras, lighting, trunk access, hood operation, exhaust clearance, and active aero functions should all be tested.
A road test can reveal what a stationary inspection cannot: vibration, contact under suspension movement, wind noise, or a loose undertray at speed. Some components may need a post-install inspection after a short break-in period, particularly if the vehicle sees uneven roads or the kit includes parts mounted beneath the car.
Owners should also receive practical guidance. Avoid pressure-washer spray directly at fresh edges, use careful ramps or driveway approaches, and inspect low-mounted carbon after any hard contact. Carbon fiber is strong, but a splitter does not need to crack to be damaged. Repeated scraping can loosen mounts, stress the resin, and eventually affect surrounding panels.
A carbon fiber body kit should make a vehicle feel more personal without making ownership more complicated. Choose components that suit the car, insist on fitment before final mounting, and treat protection as part of the installation rather than an afterthought. The result is not just a more aggressive silhouette, but a build you can enjoy with confidence every time the garage door opens.